This article walks you through the steps to set up Clover as a payment processor in Payment Center.
Step 1: Sign Up for a Clover Developer Account
1. Go to the Clover Developer Portal.
2. Sign up for a Global Developer Account.
3. Complete the registration process.
Learn more here: Create global developer account
Step 2: Create a Clover App
1. Login to your Developer Account
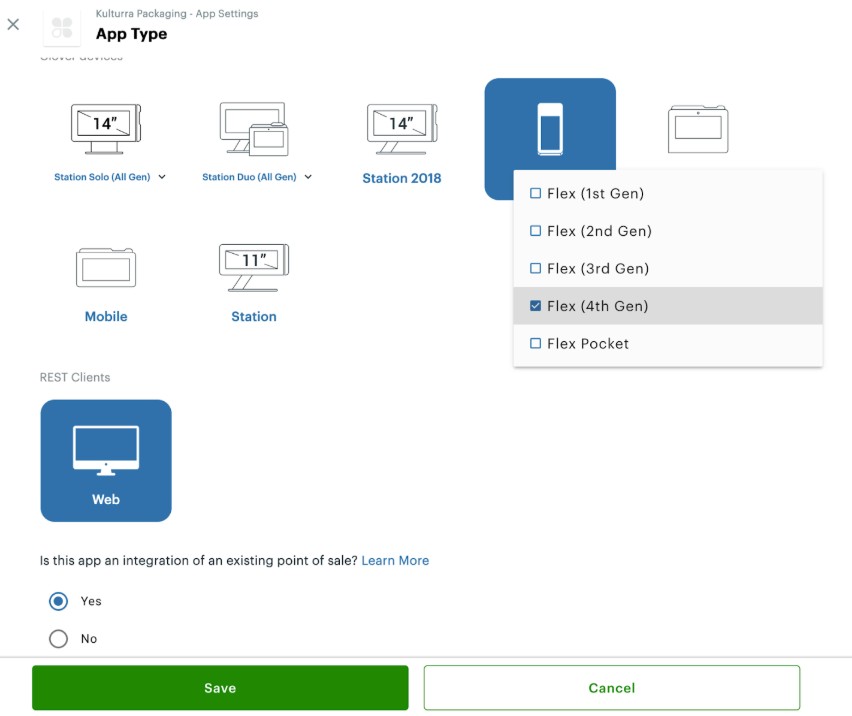
2. Create a new app:
App Type: Select Private app
Platform: Choose your platform
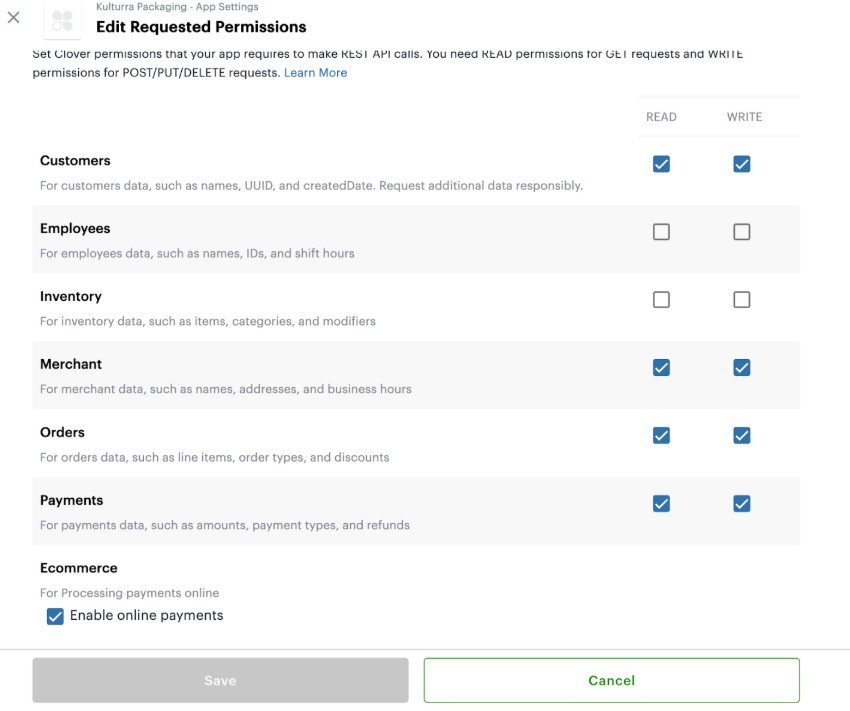
3. Configure requested permissions.
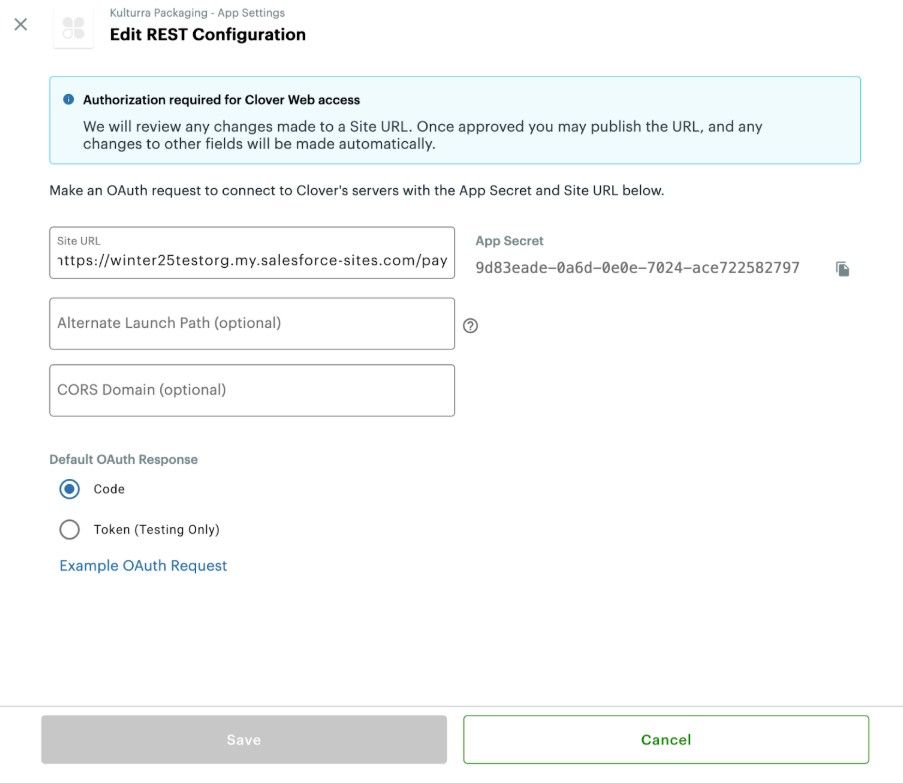
4. Configure REST settings.
REST Configuration
Site URL: {your site domain}/services/apexrest/fw1/startOAuth
To find {your site domain}: Go to Payment Center Settings | Scroll down to the Online Payment section | Copy the Domain Name
Step 3: Submit App for Approval
Submit your production developer account and integrations for approval.
Once approved, you can add the Clover processor in Payment Center.
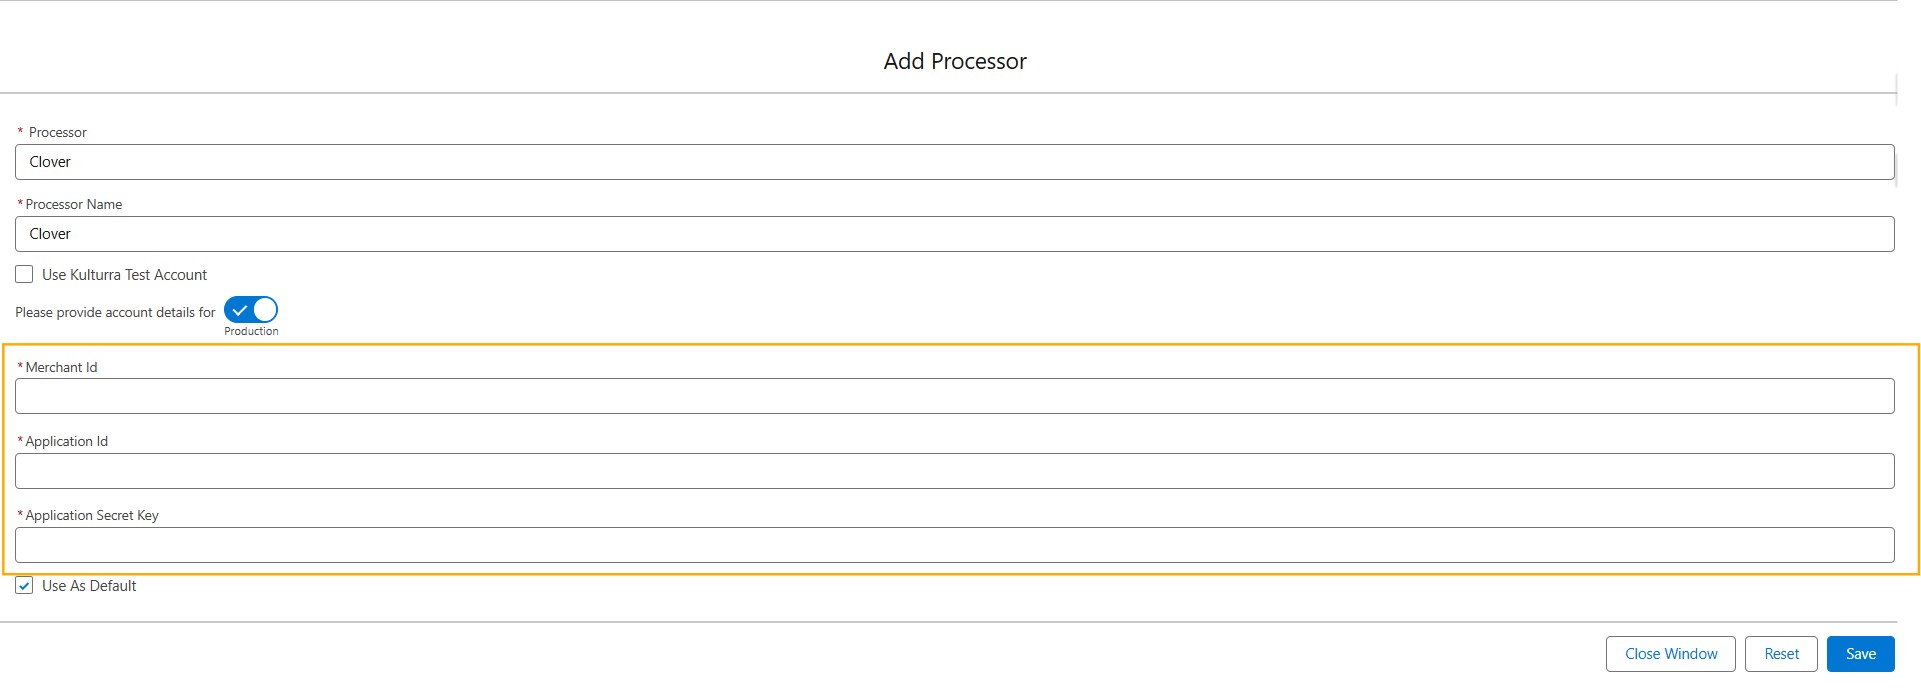
Step 4: Gather Clover Credentials
You'll need three pieces of information to connect Clover:
1. Merchant Id
Sign in to the Clover Merchant Dashboard.
Go to Settings → About Your Business → Merchants.
On the User Settings page, find the merchantId (a 13-character alphanumeric code under the merchant name).
2. App ID and App Secret Key
In the Developer Dashboard, go to My Apps.
Click on your app.
Open App Settings.
Copy the App ID and App Secret Key.
Step 5: Setup your Clover Device
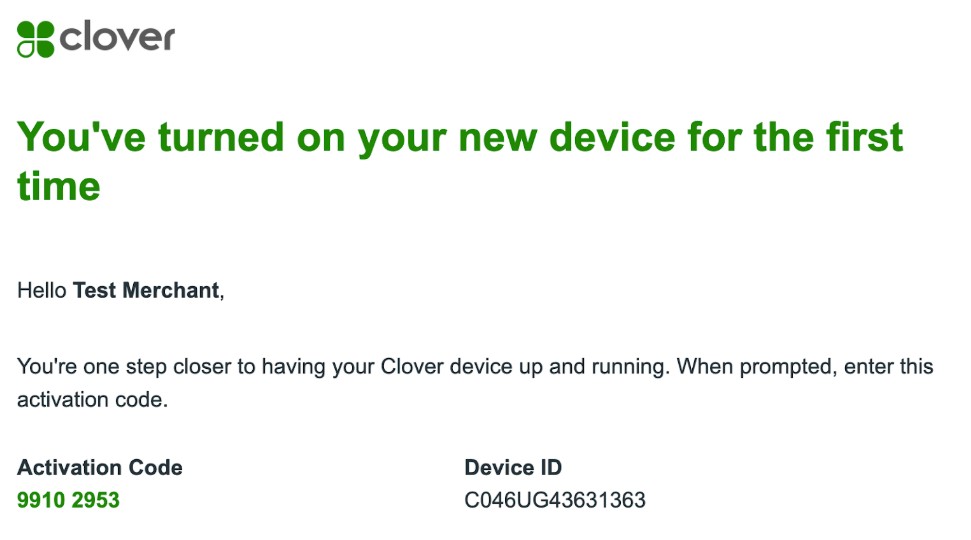
1. Locate your activation email and note the activation code.
2. On your Clover device:
Select your language → tap Set Language.
Tap Configure to set up Wi-Fi.
Select your network → enter password → tap Connect.
Enter the 8-digit activation code from your email.
Set a 4- or 6-digit passcode → confirm it.
Wait for default apps to install.
3. Install the Cloud Pay Display app:
Download and install Secure Cloud Pay Display.
Tap Open when the installation is complete.
Step 6: Connect Clover Device to Payment Center
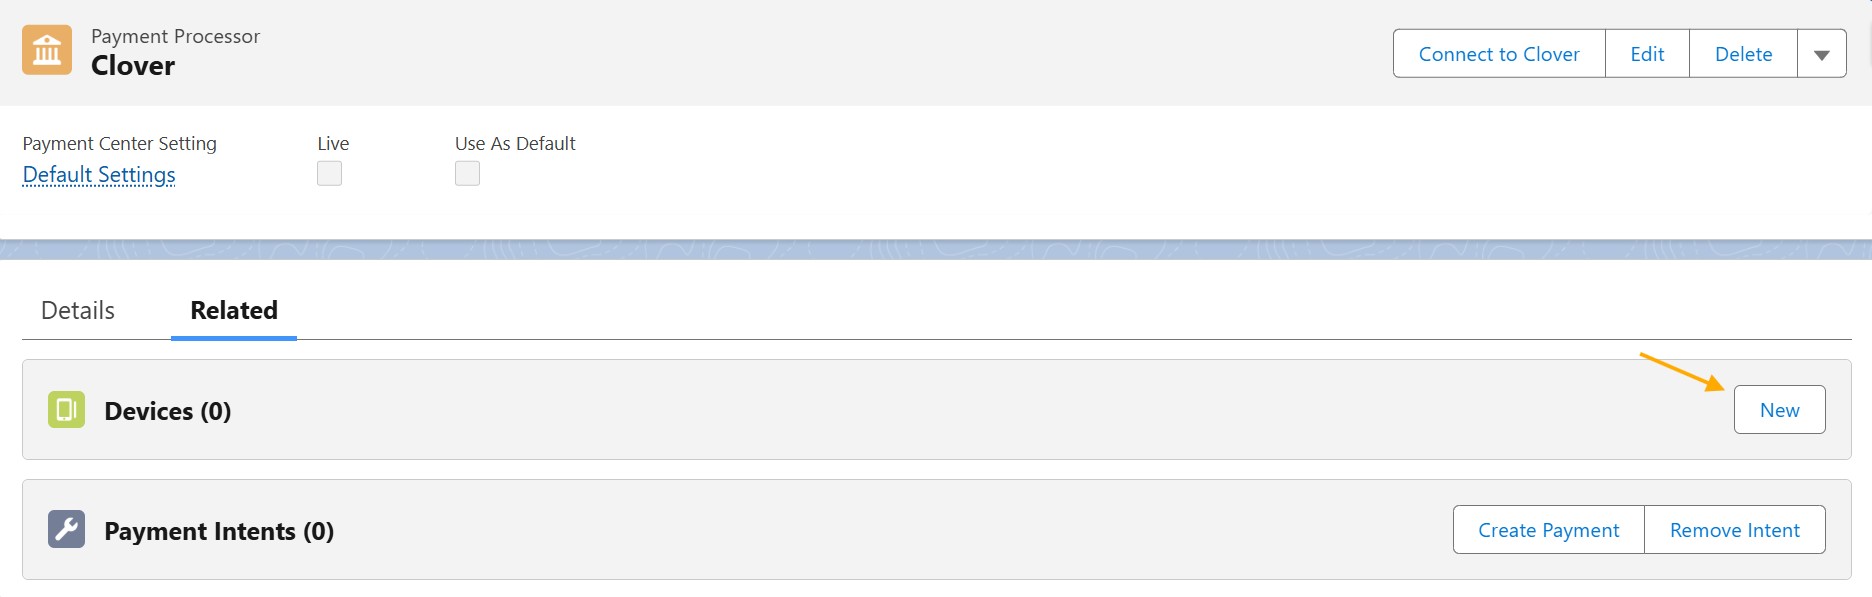
1. In Payment Center, go to your Clover processor record.
2. Go to Related tab, click New on Devices.
3. Enter the following:
Device Name: Any name of your choice
Registration Code: Your activation code
Registered Device ID: Device ID from your Clover device
Is Registered: Checked
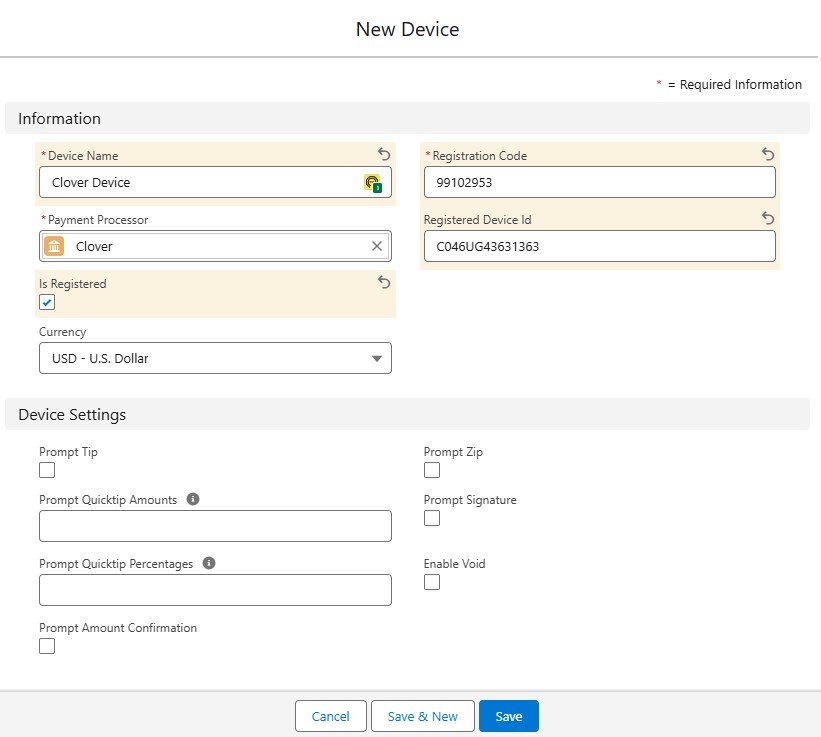
4. Click Save.
Testing
You may use the test card numbers listed in this article: Test card numbers
Going Live
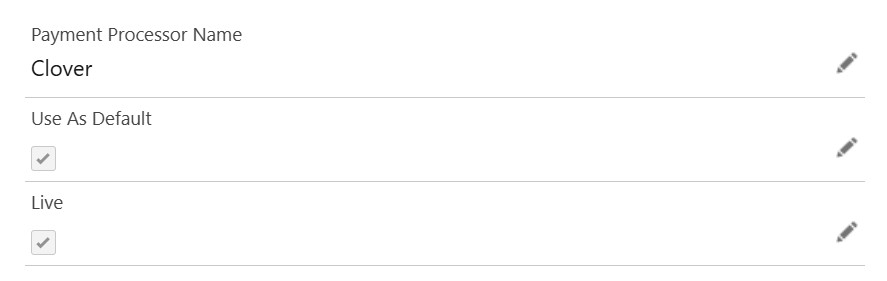
1. To go live, go to Payment Center Settings tab. Under Payment Processors related list, click Clover.
2. Check Live and Use As Default boxes then click Save:
Availability: Summer '25