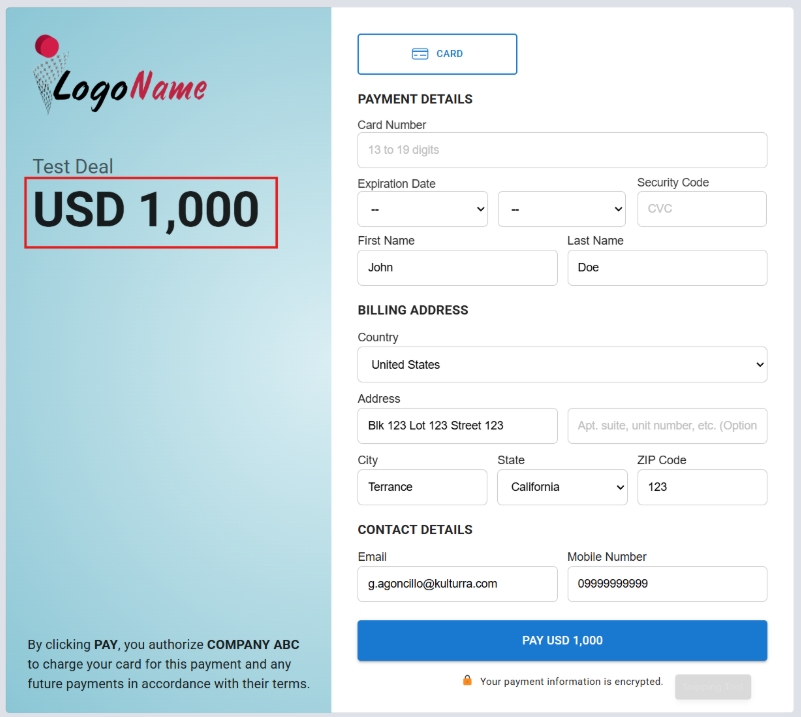
After installing Kulturra, you'll need to complete the initial application setup before you can begin processing payments.
This guide walks you through configuring your payment gateway, mapping the required monday.com boards and columns, and verifying your application settings.
Important
Several Connect Boards columns must be created manually as part of the setup. These columns allow the application to associate records between your boards, such as transactions, contacts, and payment methods.
To begin the setup:
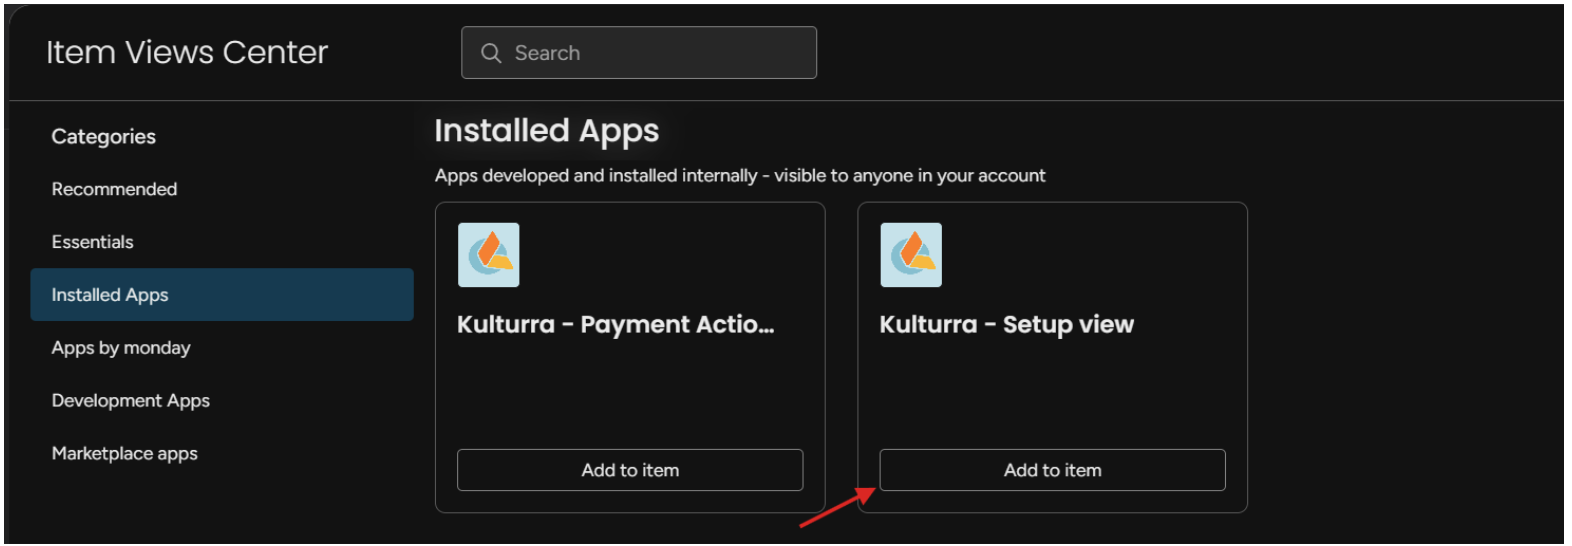
Open the Application: Open any item within the board where you plan to use the application. Select the Kulturra – Setup View view from Installed Apps and click Add to Item.
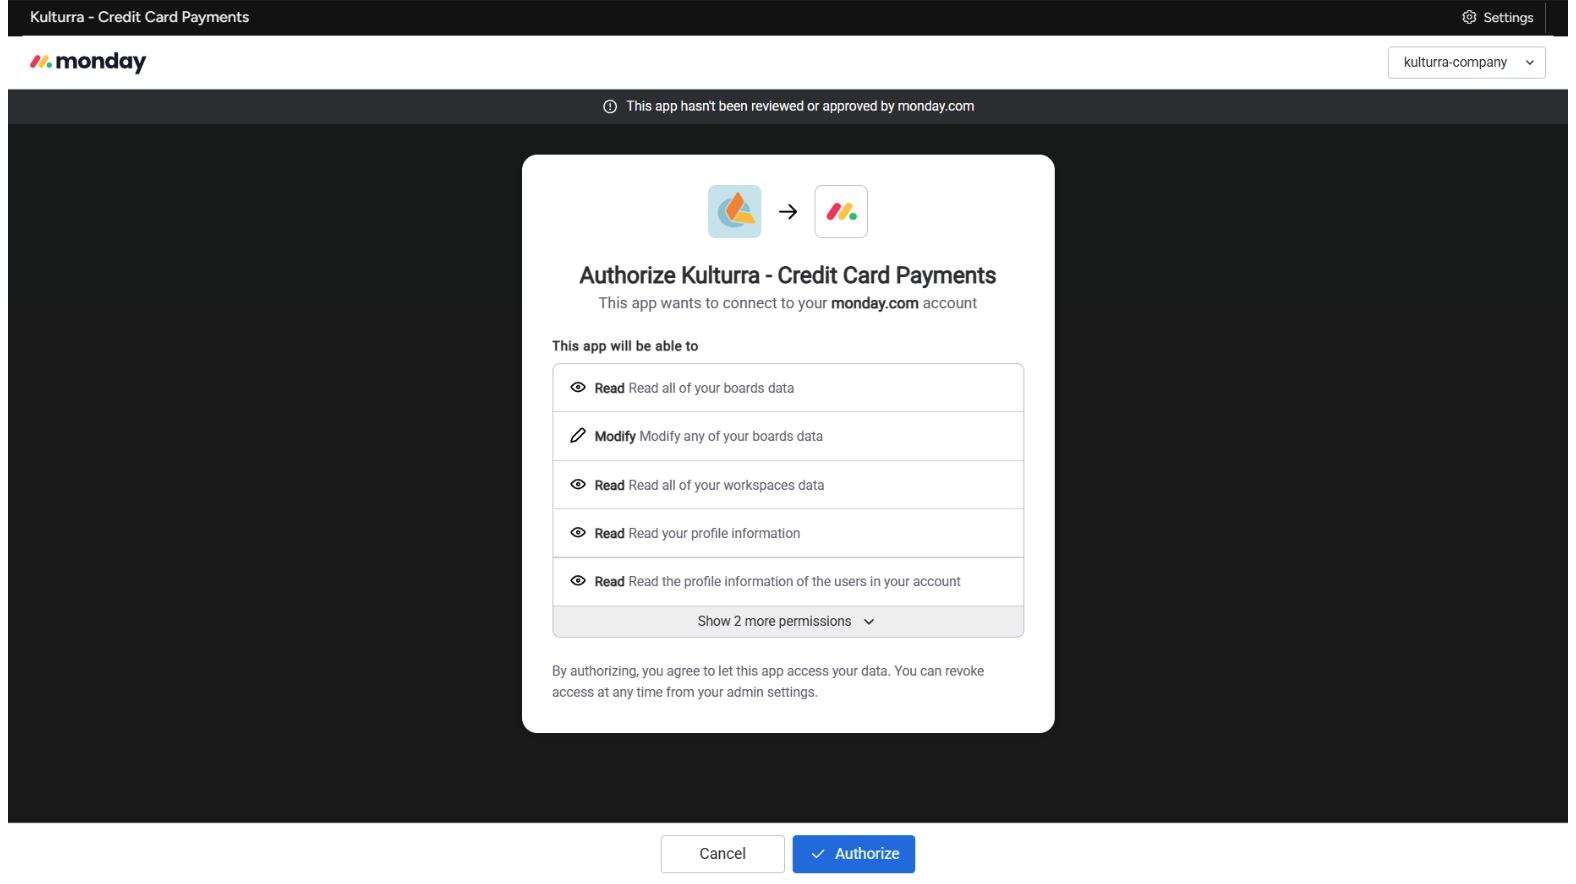
A prompt will show after the setup view is added to the item. Click Authorize.
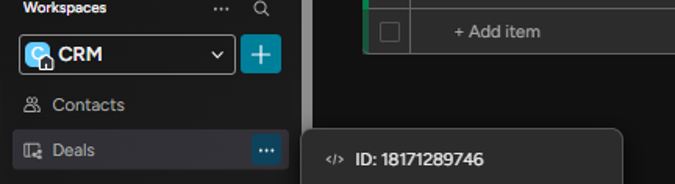
Enter Your Workspace ID: When opening the application for the first time, you'll be prompted to enter your Workspace. Copy your Workspace ID and paste it into the Workspace ID field then click Submit.

Tip: You can locate your Workspace ID by enabling Developer Mode in monday.com and clicking the three-dot (•••) menu beside the Workspace name.
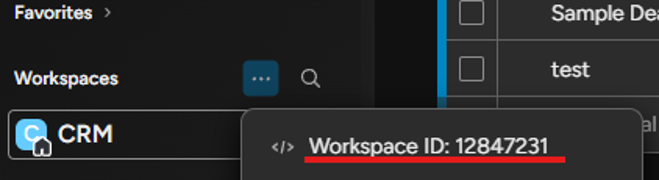
Alternatively, you can retrieve the Workspace ID from the Workspace URL in your browser.
Then it will redirect to the Application settings form (Payment Gateway Settings). Enter the credentials for the payment gateway you will be using. The default endpoint url is CardConnect url but it can be changed depending on the payment gateway url you’ll be using.
IMPORTANT. Please complete filling out the settings first before exiting the app to ensure the setup works properly with its boards, columns, and items. (This is after the enter workspace id screen.)
After the submission of Application settings form (Payment Gateway Settings). It will show an alert that the setup is done and follow the documentation on how to set up other settings.

All inputs in the settings form will be filled in the Kulturra: Settings board as a board item. Below are the mappings for each column that will be used in the application.
a. Endpoint URL: CardConnect URL to be used for processing payments. Change the value if there’s a different URL that needs to be used.
b. Credentials: Merchant ID, username, and password of the CardConnect account encrypted together. No need to do changes on this column.
c. Merchant ID: Shows the last 4 digits of the currently using Merchant ID of CardConnect
d.Payment Type: Charge or Authorization
e. Currency: Currency of the payment. USD is the default value
f. Payment Link Expiration: Duration of the validity of the payment link. Supported formats: “120s” (for seconds), “15m” (for minutes), “2h” (for hours), “7d” (for days). Default value is “10d” (ten days)
g. Company Name: Company name of the monday.com user. Company name will be shown as the title of the webpage.
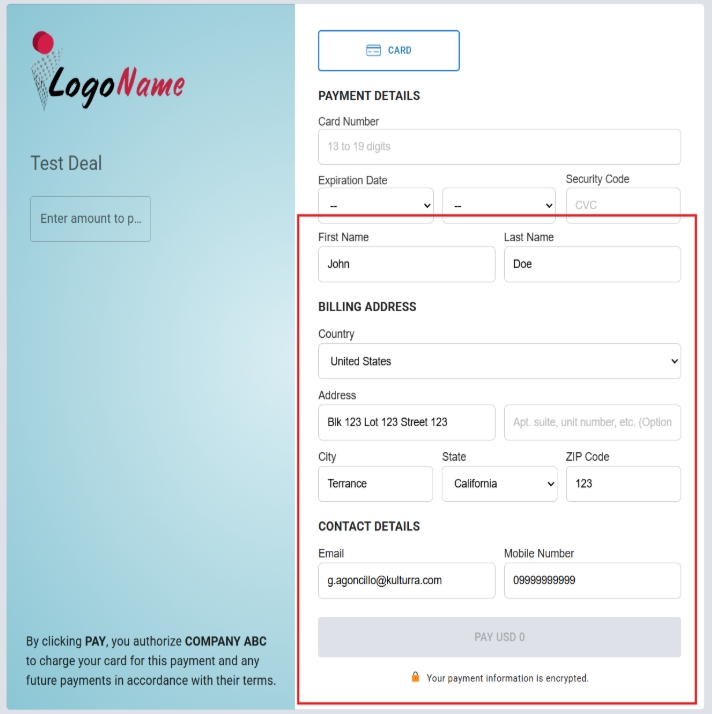
h. Company Logo: Company logo in URL format that will be displayed in the Payment form and icon for the webpage. Set the logo at height of 100px to properly display the quality of the logo. Sample screenshot of how it will be displayed in the payment form and as an icon in the webpage.
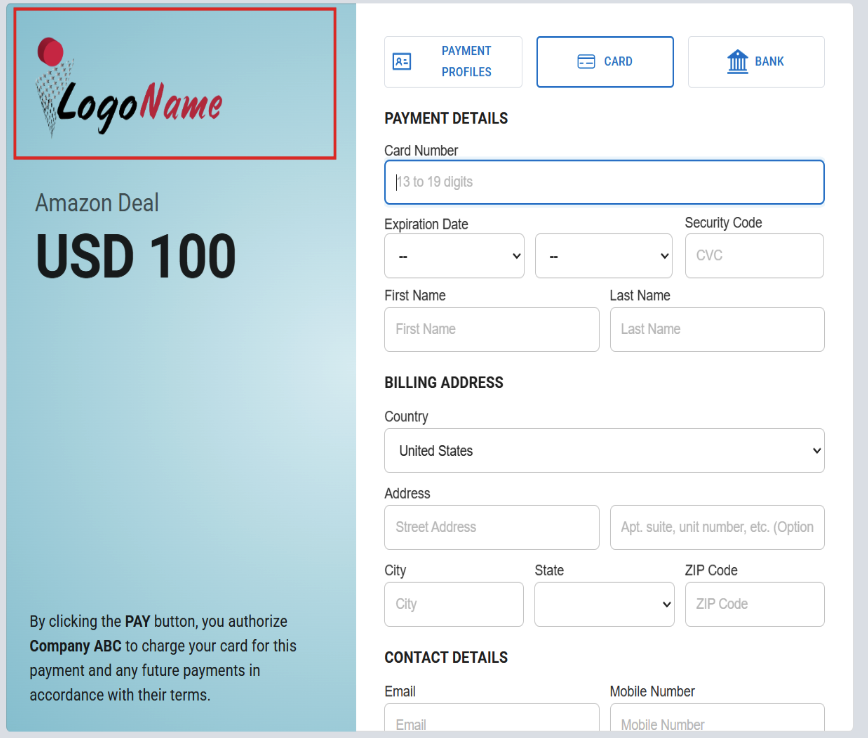
i. Company Background Color: Background color to be used in the left side box of the payment form and the value is on Hexcode format. Default value is #8bc6d6. Check the photo above (g. Company Logo) on how it will displayed
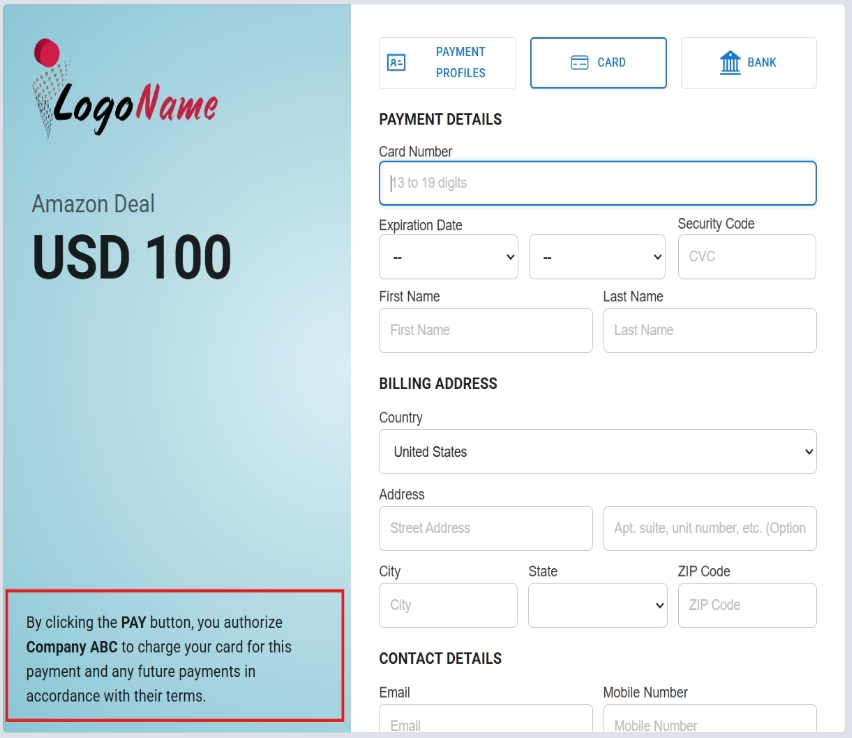
j. Company Statement for Payment Processing: Company statement that shows to the payer how their payments will be processed. It can accept simple text or text that has HTML tags.
Sample value:
By clicking <b>PAY</b>, you authorize <b>COMPANY ABC</b> to charge your card for this payment and any future payments in accordance with their terms.
How will it be shown in the payment form:
k. Enable ACH: Set to true if you need to show the Bank form tab or not.
l. Theme color: Hexcode value that sets the app colors (input field border, button fill and borders).
m. Enable Dark Mode: Set to true if you want the payment form to be in dark mode or not.
n. Require Billing Address?: Set to true if the billing address section in the payment form will be required and displayed or not.
o. Require Email?: Set to true if the email field in the payment form will be required and displayed or not.
p. Required Phone Number?:Set to true if the phone number field in the payment form will be required and displayed or not.
q. Is Test?: Set to true if the Payment gateway settings using CardConnect will be used for production(live) use or not.
r. Use as default credentials?: Set to true if this will be used as current settings for the app or not. NOTE: Only 1 setting is allowed to be set to default.
Configure the Settings Board: Navigate to the Kulturra: Settings board and expand the subitem for the configuration you created.
On the board the user is currently using (what is mapped in the Board ID subitem settings column) Create a Text type column.
Name the column Payment link and get the column ID
Apply the Column ID in the value of Payment Link column ID in subitem settings.
Open the Kulturra: Transactions board.
Click Add Column.
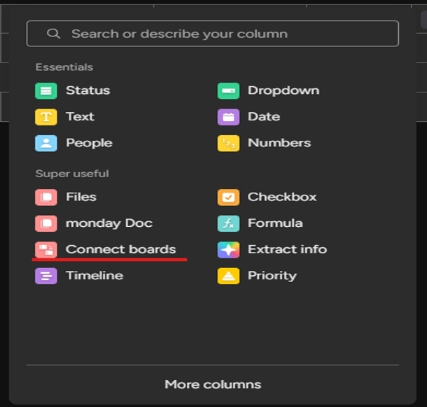
Select Connect Boards.
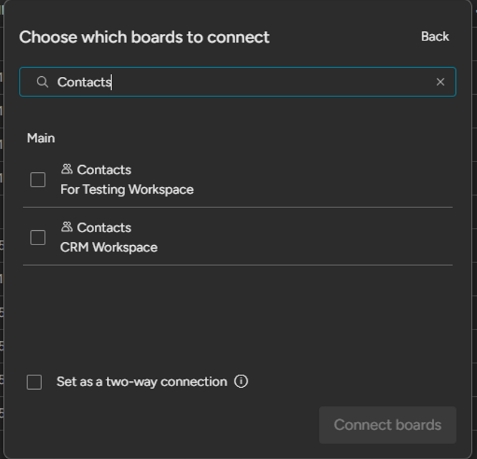
Select the board that you’ll connect with. The value should be the board where the Board ID that you entered in the “Board ID” subitem column is located.
Open the Kulturra: Transactions board.
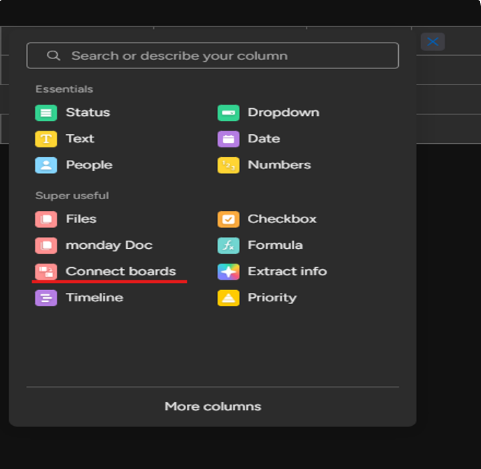
Click Add column and select Connect Boards.
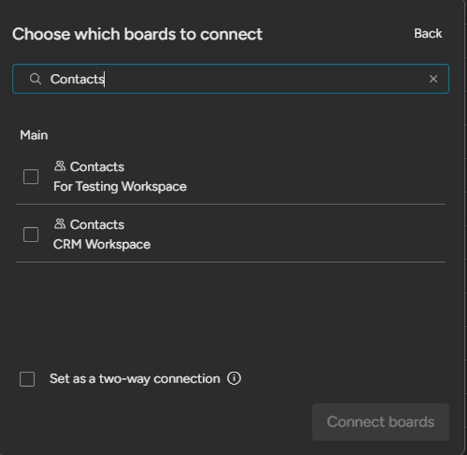
Select the board that you’ll connect with. The value should be the board where the contacts are located as it will be a connected board to contact items and it should be in the same workspace that the user is working with and using Kulturra.
This section contains all of the mappings used by the application.
a. Board ID (Required)*: The ID of the Board you are currently using for mapping of settings
b. Payment Link column ID*: Required. The ID of the column where to put the payment link based on the applied board id in the Board ID Sub item column.
NOTE: Apply a value on this subitem column for the payment link to be set in the item properly
Sample steps:

c. Amount ID: The column ID where the amount of an item to be paid is located for mapping. The type of column that will be used should be a number.
d. Paid Amount Field ID: The column ID to show all the total amount paid in the board you’re using. The type of column that will be used should be a number.
e. Payment Lookup Field ID: The column ID in “Kulturra: Transactions” board where it connects to an item where the payment is made in the board where the app is used.
NOTE: Adding a column within Kulturra: Transactions that will be used for Payment Lookup Field ID is done manually. This field connects transactions back to the original board item.
Because monday.com cannot create this relationship automatically, you'll need to manually create a Connect Boards column.
Below are the steps to follow:
f. Contact ID: The column ID to check if there are contacts related to the item. This column is used to check for payment methods. The type of column that will be used should be a board relation.
g. Payment Method Connection ID for Transaction board: The column ID for logging the Contacts to a connected board id that is manually created in Kulturra: Transactions board.
Below are the steps to follow:
h. Payment Method Connection ID for Payment Method board: The column ID for logging the Contacts to a connected board id that is manually created in Kulturra: Payment Methods board. The value from this sub item will also be used as a condition if the “Save for future payment” checkbox will be displayed.
NOTE: Adding a column within Kulturra: Payment Profiles that will be used for logging the contacts connect board values is done manually.
Below are the steps to follow:
Open the Kulturra: Payment Methods board.
Click Add column and select Connect Boards.
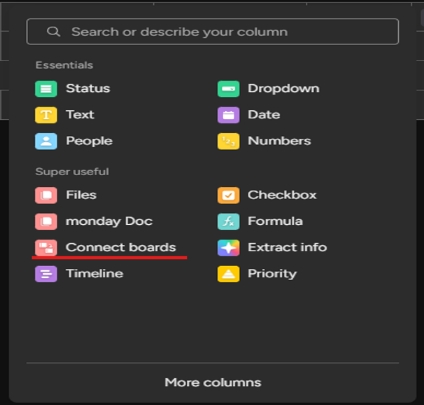
Select the board that you’ll connect with. The value should be the board where the contacts are located as it will be a connected board to contact items and it should be in the same workspace that the user is working with and using Kulturra.
i. Invoice ID: The column ID that will be used to send as an “order_id” field to CardConnect (or other payment gateway used). The type of column that will be used should be text.
j. Billing First Name ID: The column ID to be mapped in the application at payment form as default value of First Name field. The type of column that will be used should be text.
k. Billing Last Name ID: The column ID to be mapped in the application at payment form as default value of Last Name field. The type of column that will be used should be text.
l. Billing Address ID: The column ID to be mapped in the application at payment form as default value of Address Line 1 field. The type of column that will be used should be text.
m. Billing City ID: The column ID to be mapped in the application at payment form as default value of City field. The type of column that will be used should be text.
n. Billing Zip: The column ID to be mapped in the application at payment form as default value of Zip field. The type of column that will be used should be text.
o. Billing Country ID: The column ID to be mapped in the application at payment form as default value of Country field. The value should be an “ISO” code. Check the value here and search for the “iso2” field of the country you want to use as default value. The type of column that will be used should be text.
p. Billing State ID: The column ID to be mapped in the application at payment form as default value of State field. The value should be an “ISO” code that is based on the country. Check the value here, use the value from the country column by “country_code” and then search for the “iso2” field of the country you want to use as default value. The type of column that will be used should be text.
q. Email ID: The column ID to be mapped in the application at payment form as default value of Email field. The type of column that will be used should be text.
r. Phone ID: The column ID to be mapped in the application at payment form as default value of Phone field. The type of column that will be used should be text.
NOTE: For items h to q , Map the id values base on the board id that is set as a value in the Board ID subitem column.

Sample columns in the board to be used:

Example when mapped successfully:
Configure the Currency: Open the Kulturra: Settings board and verify that the configured currency matches the currency supported by your payment gateway.
The default currency is USD. If your payment processor supports a different currency, update the setting before processing payments.
Note: If a payment fails because of an unsupported currency, the error message is recorded in the Message column of the Kulturra: Transactions board under Message Column.
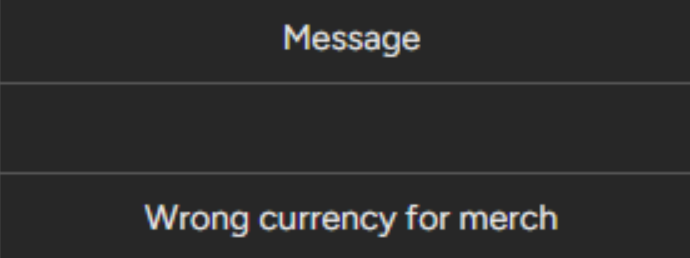
Sample screenshot below of how it will look like in the application.