The "Stop Collection" feature halts the system from sending Outstanding Invoice reminder emails, while "Do Not Send Receipt" prevents the sending of receipts. However, payments and dunning processes continue unaffected. To cease charges, you must void the Invoice. On the other hand, to halt dunning and failed automatic payment transaction email notifications, you need to deactivate the Dunning process.
Steps to Stop Failed Automatic Payment Transaction Email Notifications:
1. Access Payment Center Settings: You can access this either through the Payment Center App or by typing "Payment Center Settings" in the app launcher.
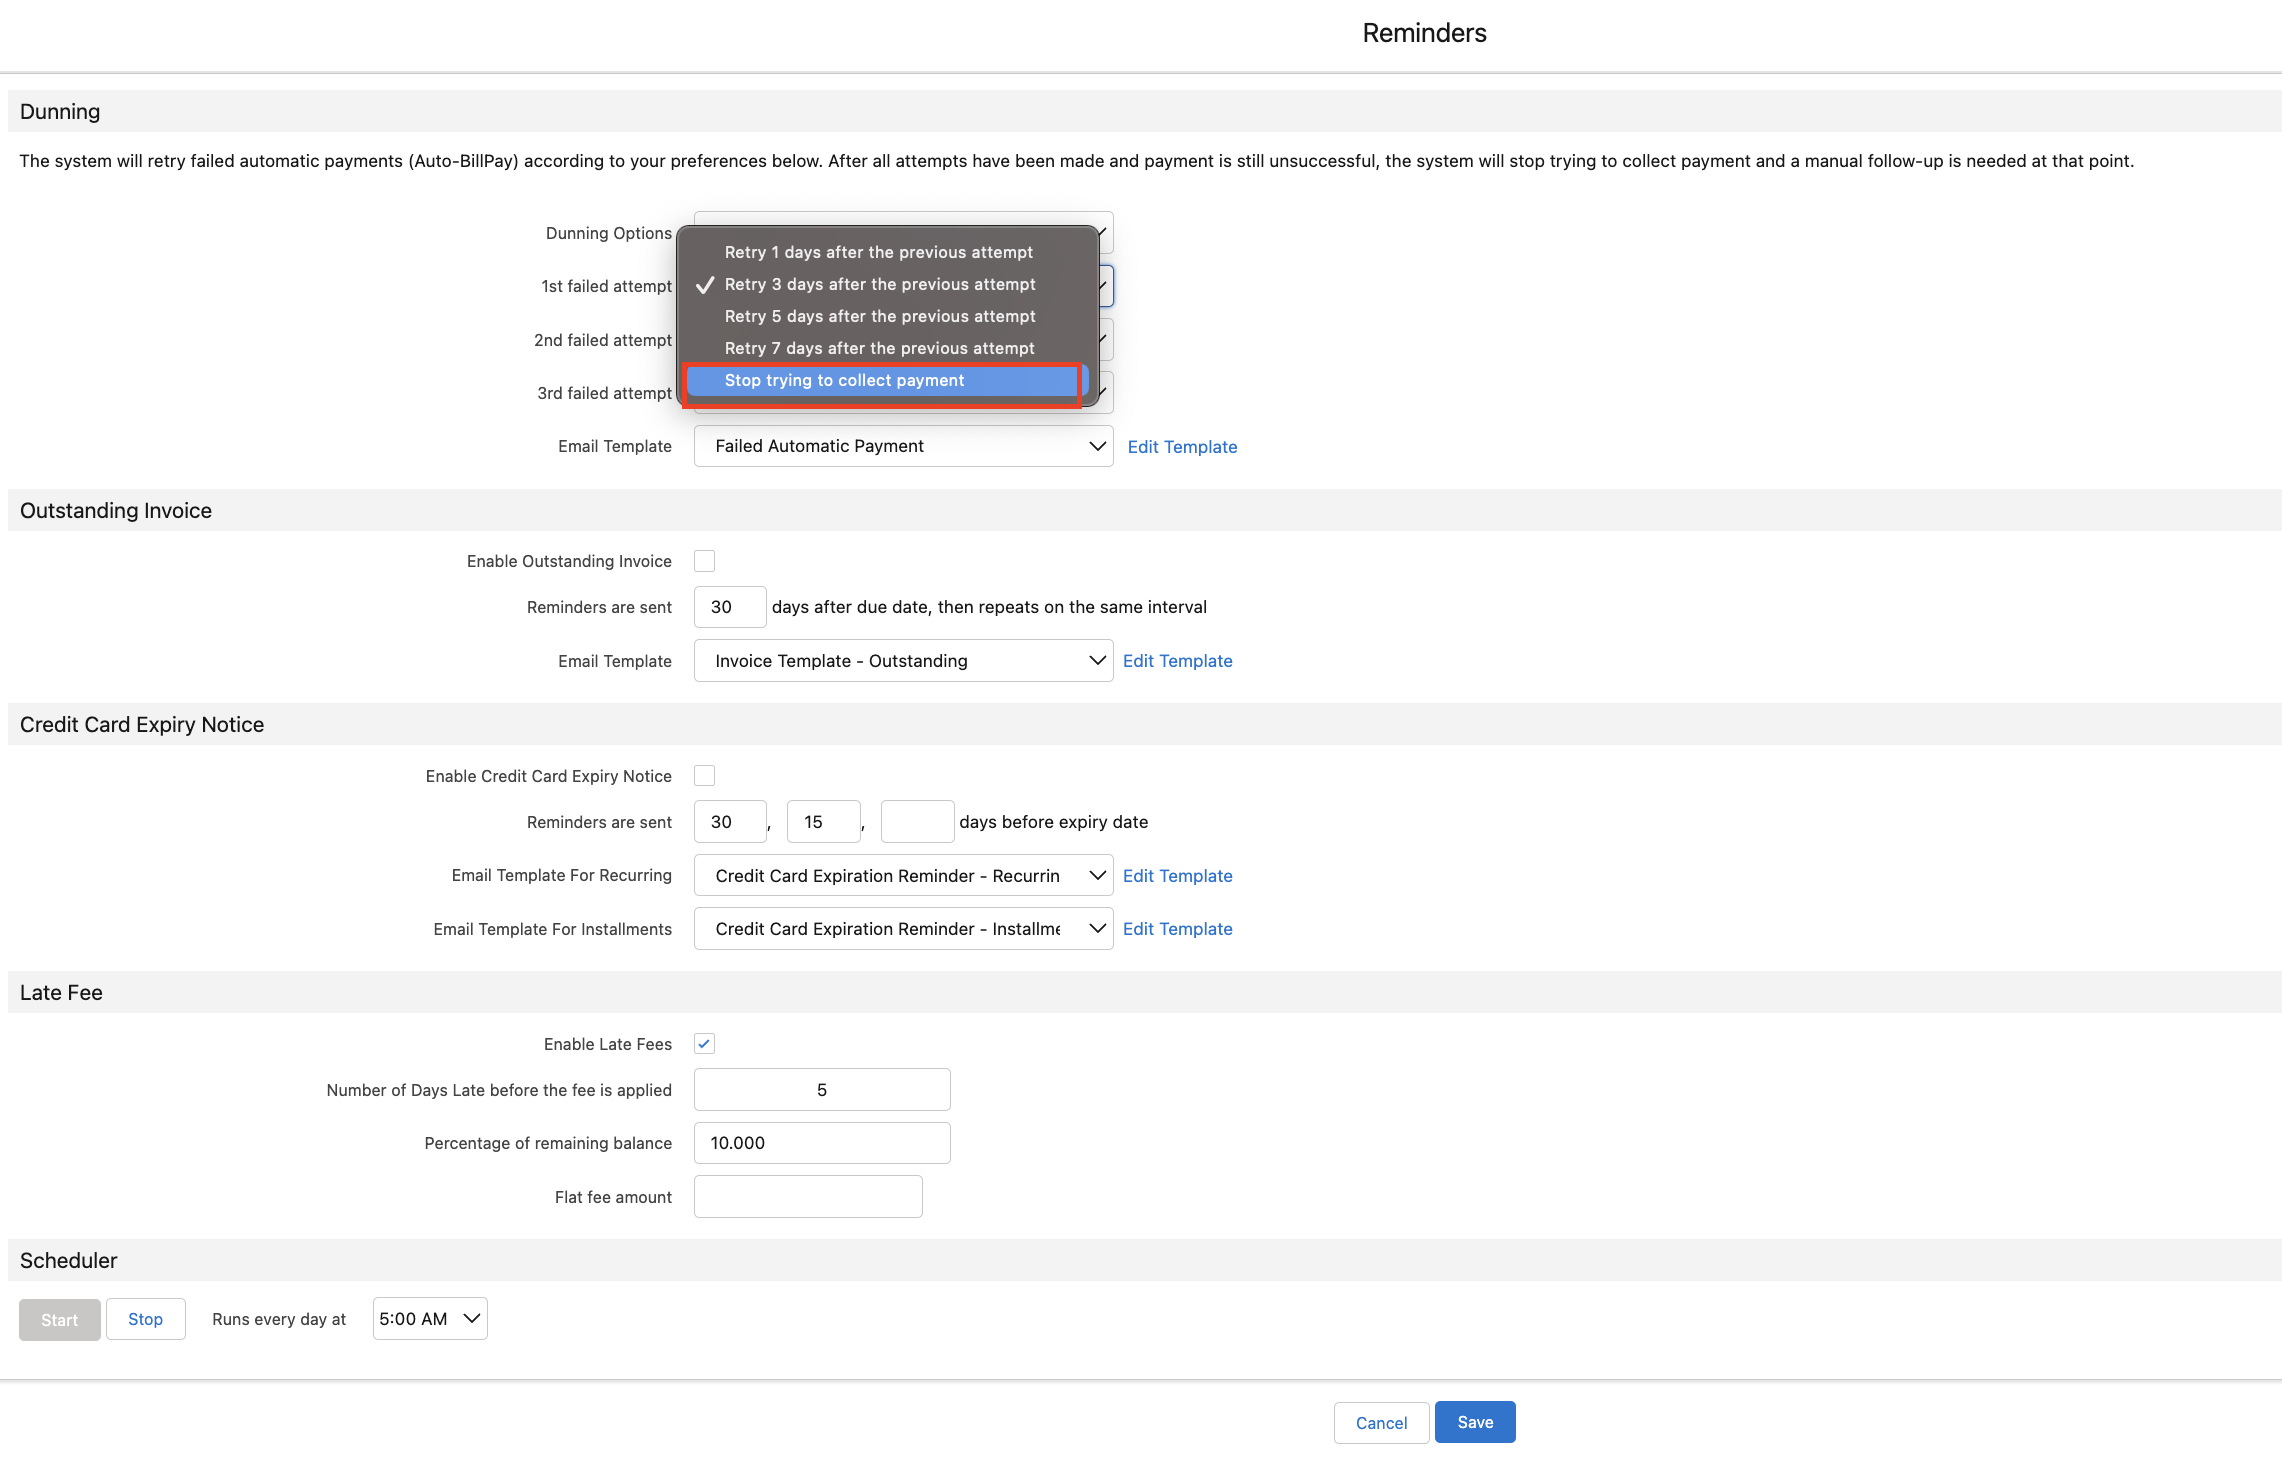
2. Navigate to Reminders: Look for a button named "Reminders". This is where you'll find options related to notifications and reminders.

3. Locate Dunning Settings: Within the "Reminders" section, search for the specific settings related to dunning. Dunning settings control the notifications for payment attempts.
4. Adjust 1st Failed Attempt Action: Within the dunning settings, locate the option that corresponds to the "1st failed attempt." This setting determines what action to take after the first failed payment attempt.
5. Select 'Stop Trying to Collect Payment': Choose the option labeled "Stop trying to collect payment" for the 1st failed attempt and hit Save. This action will halt further payment collection attempts after the initial failure.
NOTE: Consider Impact on Auto-Billpay Records: Understand that selecting this option will affect all Auto-Billpay records associated with failed payments. This could result in a change to your overall collections strategy. If you're part of a team or organization, communicate the changes you've made to dunning settings. Ensure that everyone is aware of the adjustments and their potential impact.
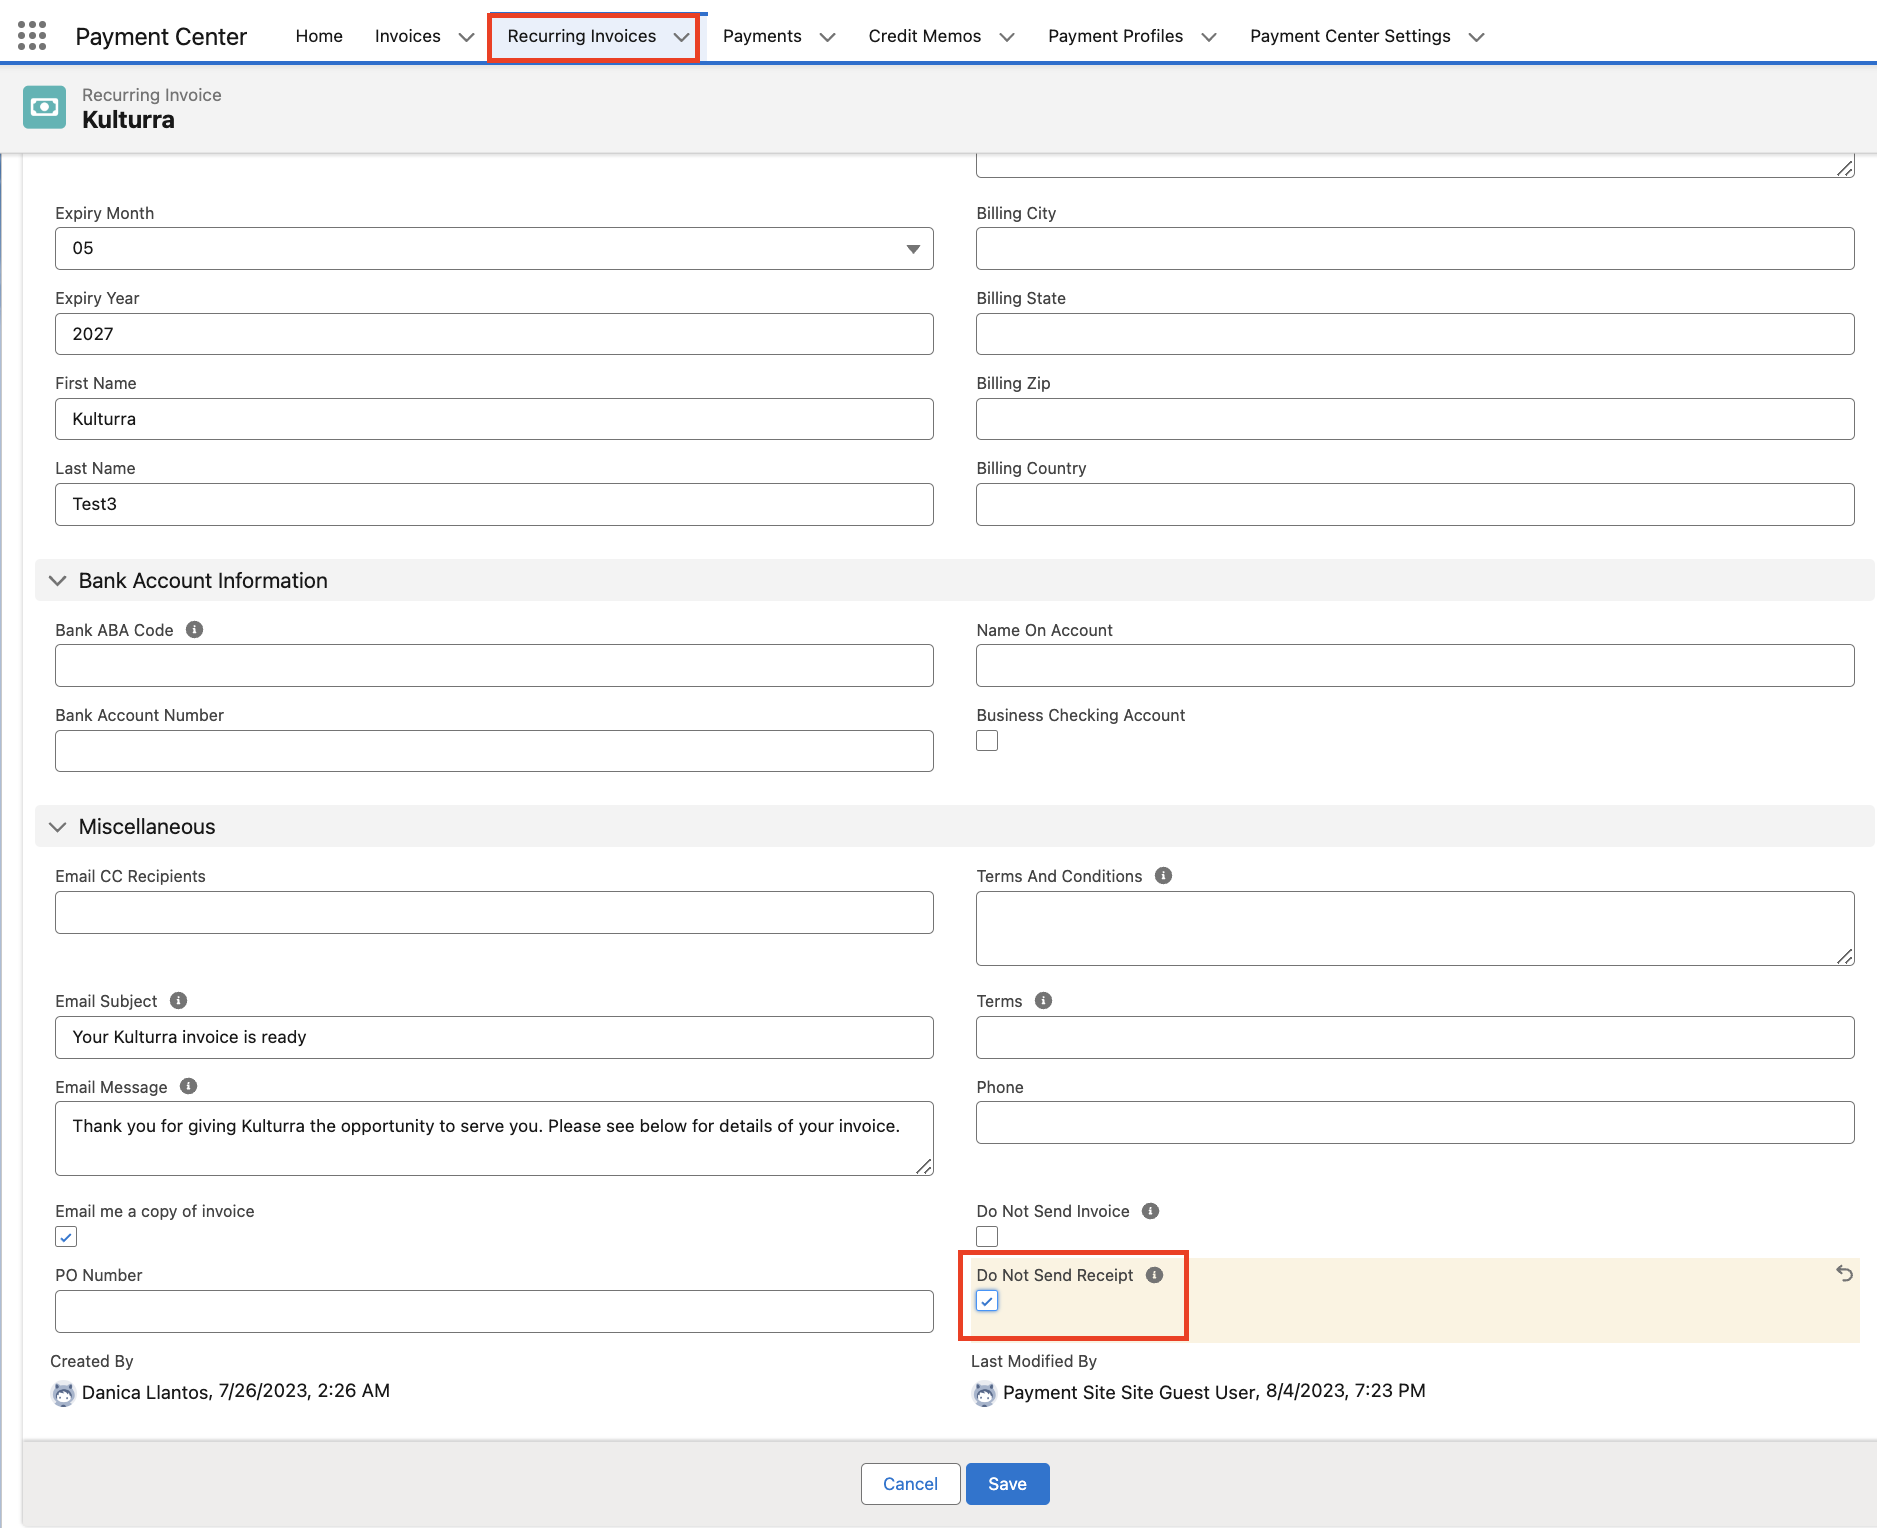
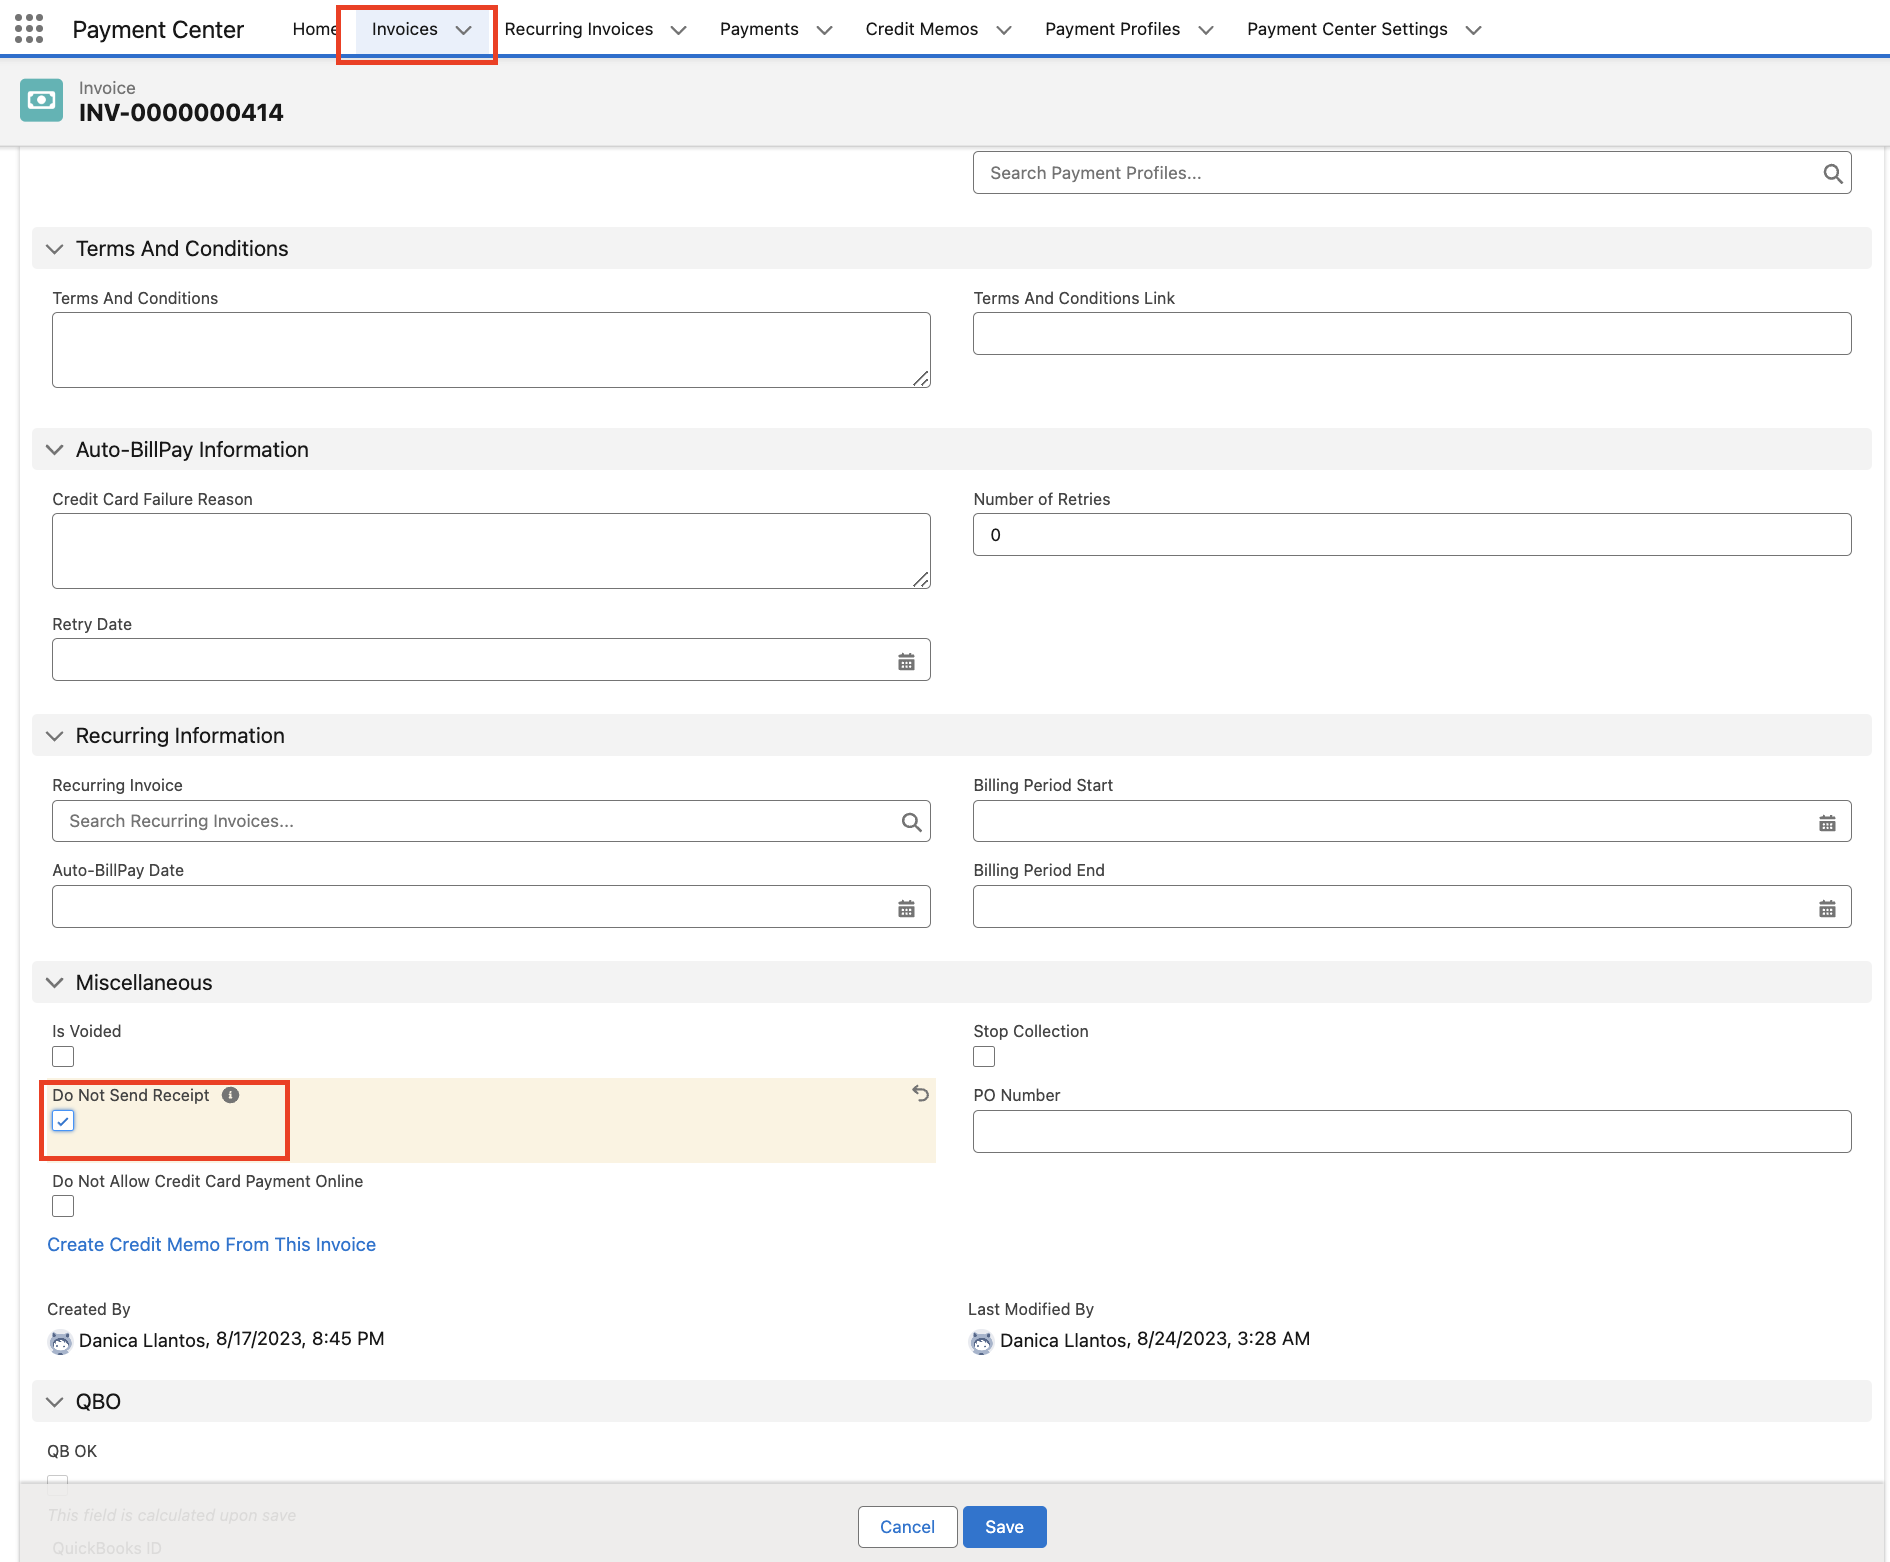
In certain situations, receipts were not sent out even though the account was set up for Auto-Billpay. This occurred when an auto-payment failed, and the customer subsequently made a manual payment. To address this, we recommend enabling the "Do Not Send Receipt" option within both Recurring Invoice and Invoice records. This step will proactively mitigate the potential for such issues to arise.
To enable the "Do Not Send Receipt" feature on an Invoice record, navigate to the respective invoice record and click on the edit icon (pencil). Then, select the checkbox labeled "Do Not Send Receipt."
To enable the "Do Not Send Receipt" feature on a Recurring Invoice record, navigate to the respective Recurring Invoice record and click on the edit icon (pencil). Then, select the checkbox labeled "Do Not Send Receipt."