Stripe ACH Setup
Payment Center’s implementation of Stripe ACH is the manual collection of bank accounts and verification using micro-deposits. Payment Center is currently not integrated with Plaid.
With micro-deposits, there’s a bit of legwork before you can charge your customer’s bank account. The process is as follows:
Request Bank Authorization – before a bank account can be used, you need to get authorization from your customer (or the owner of the account). This process consists of sending your customer a bank authorization form where they can enter their bank account. After they enter their bank account, Stripe will make micro-deposits to them. Payment Center provides a mechanism for you to send the authorization form.
Account Verification – after the deposits are made, your customer will then receive another form where they can enter the micro-deposits. Payment Center will send the micro-deposits to Stripe for verification. Once verified you can then use the bank account for future payments.
Request Bank Authorization
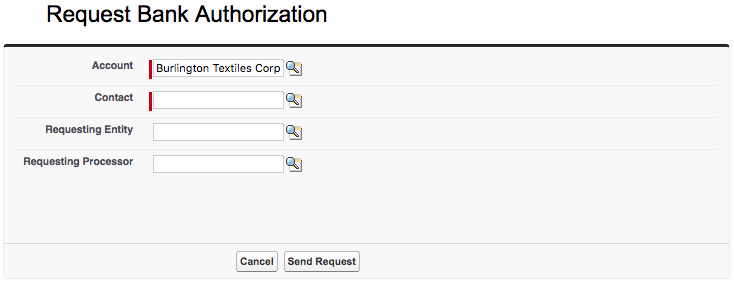
To request bank authorization from your customer, go to the Account | Request Bank Authorization:

Select a Contact whom you want to request the authorization from, the Requesting Entity if you use multiple entities in your organization, and the Requesting Processor if you use multiple processors.
Your customer will receive the following email with a button linking to a form where they can enter their bank account:
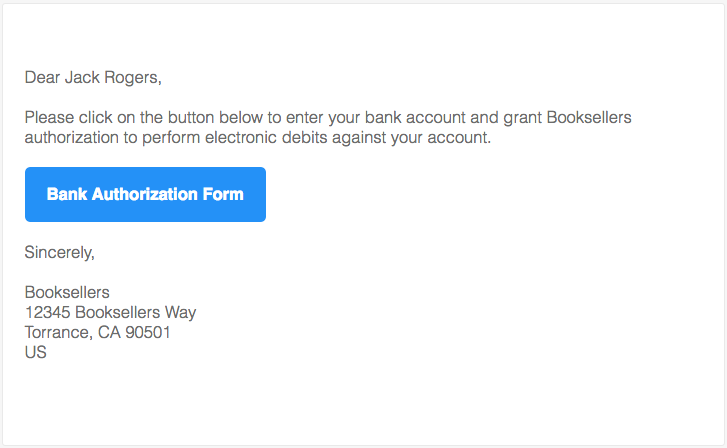
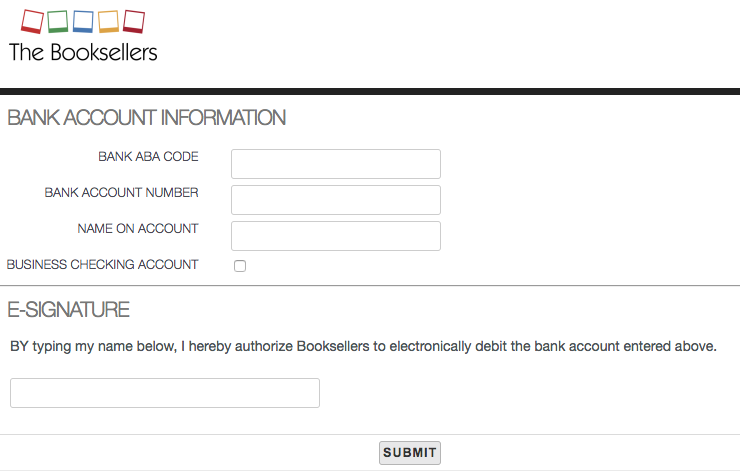
When your customer clicks on Bank Authorization Form, they will be directed to the following form where they can enter their bank account number and their e-signature explicitly allowing you to debit their bank account.
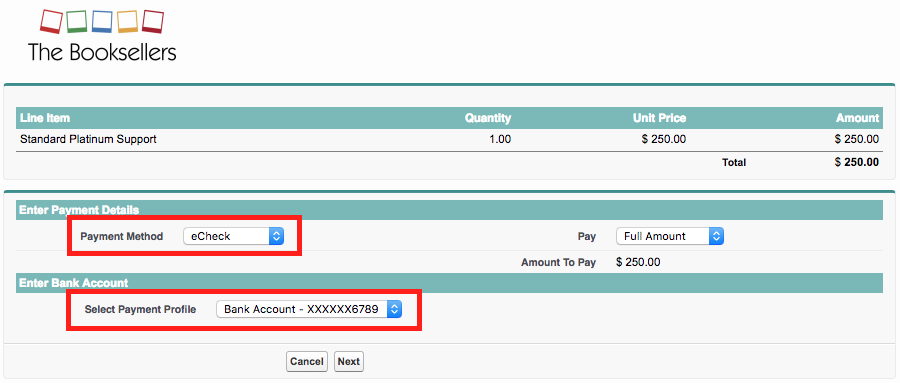
After your customer enters their bank account and submit the information, they will have a Payment Profile created in the system, but will be marked Unverified:
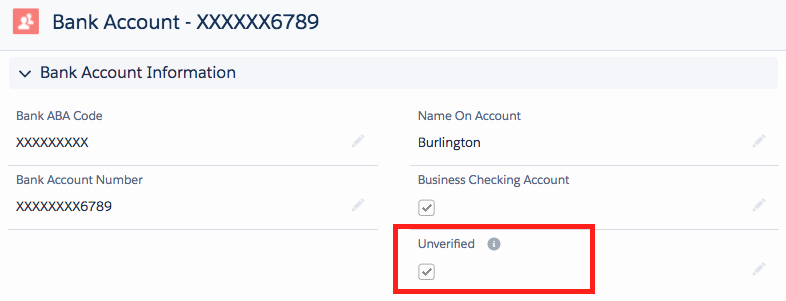
Unverified accounts can’t be used for payment.
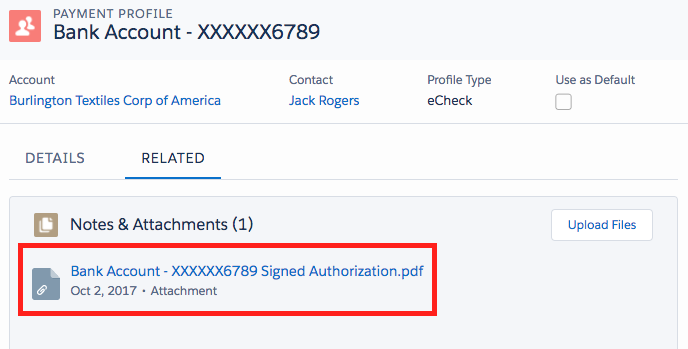
A PDF will also be attached on the profile containing details of the authorization:
Account Verification
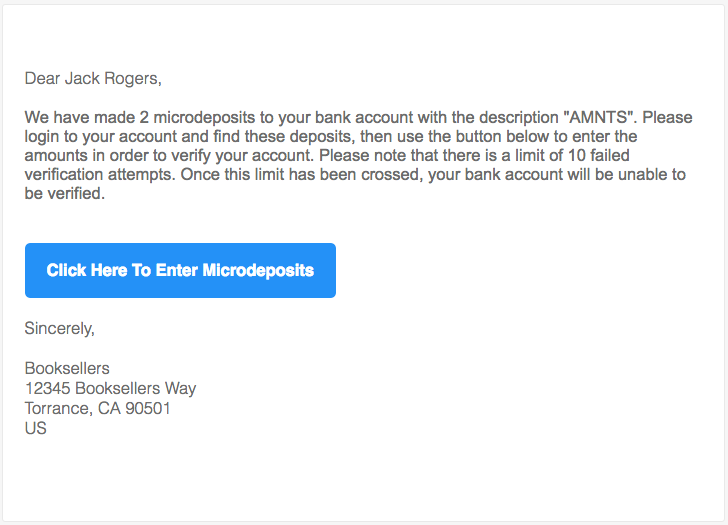
Aside from a profile being created for your customer, your customer will also receive an email with a button linking to a form where they can enter the micro-deposits:
When they click on Click Here To Enter Microdeposits, they will be directed to this form:
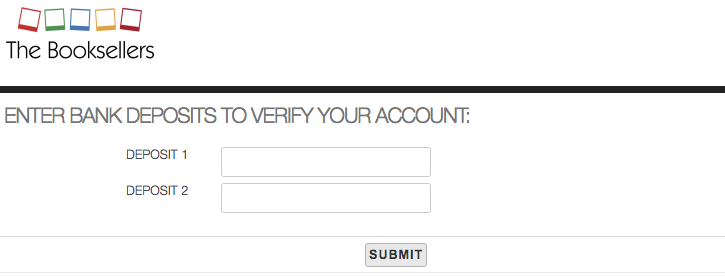
Microdeposits should be entered as they appear on the bank account.
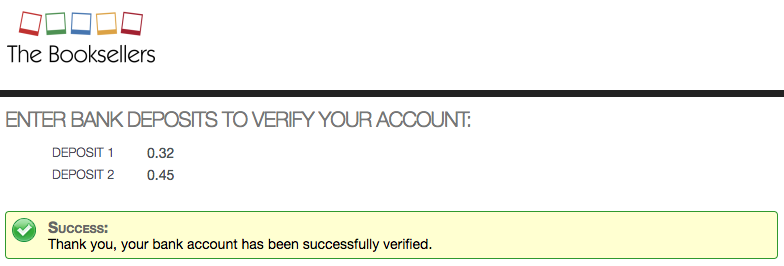
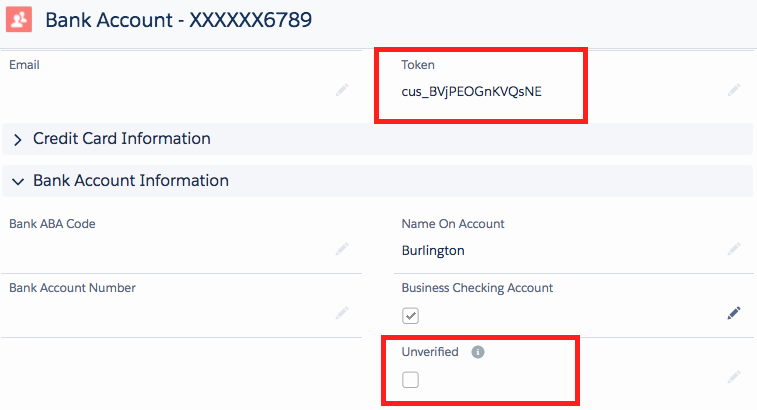
After verification, the profile will be marked as verified. Note that this is a tokenized profile, meaning that the profile will have a token associated with it. The token will be used in place of the actual bank account number. Stripe would associate the token with the bank account.
If you login to your Stripe account, you should see a customer created with the bank account:
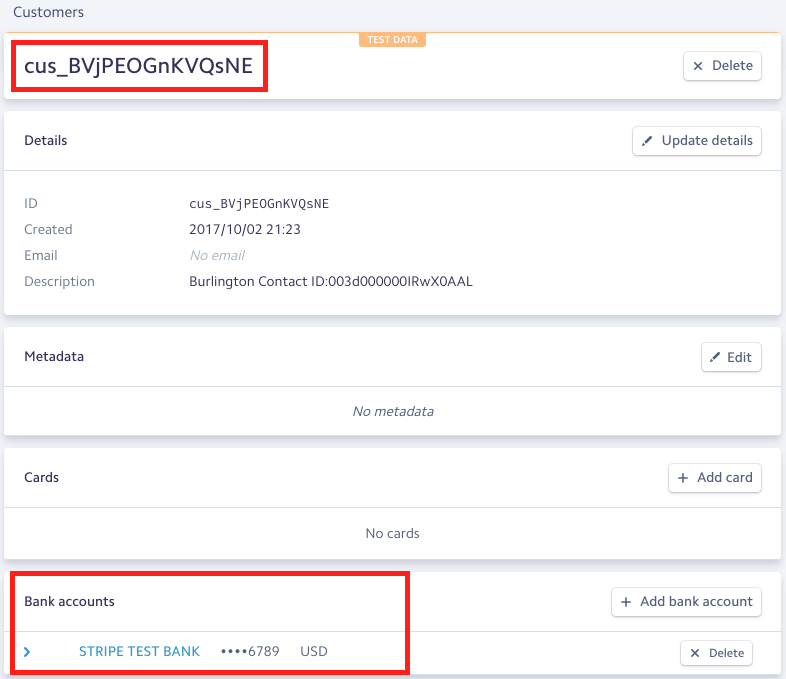
At this point, the profile can be used for payment.