What’s Happening Now?
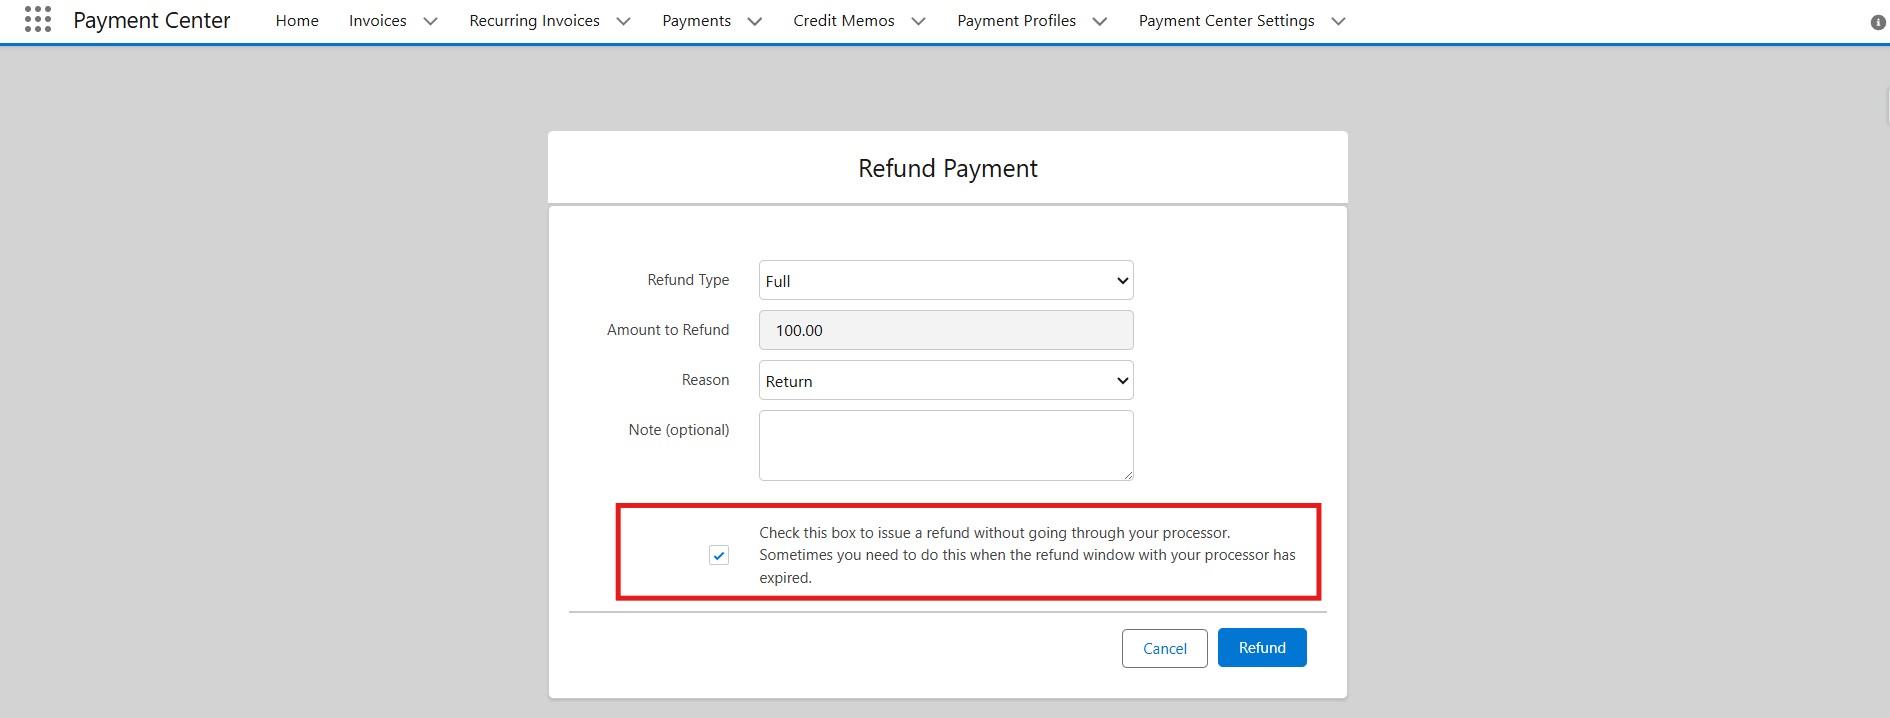
When processing refunds, users can choose to either issue the refund both in Salesforce and through the payment processor or issue the refund only in Salesforce.This is controlled by a checkbox labeled: “Check this box to issue a refund without going through your processor. Sometimes you need to do this when the refund window with your processor has expired.” Selecting this checkbox means the refund will only be recorded in Salesforce and not sent to the payment processor.
However, there is currently no way to track or verify whether this checkbox was selected at the time the refund was processed.
What's New?
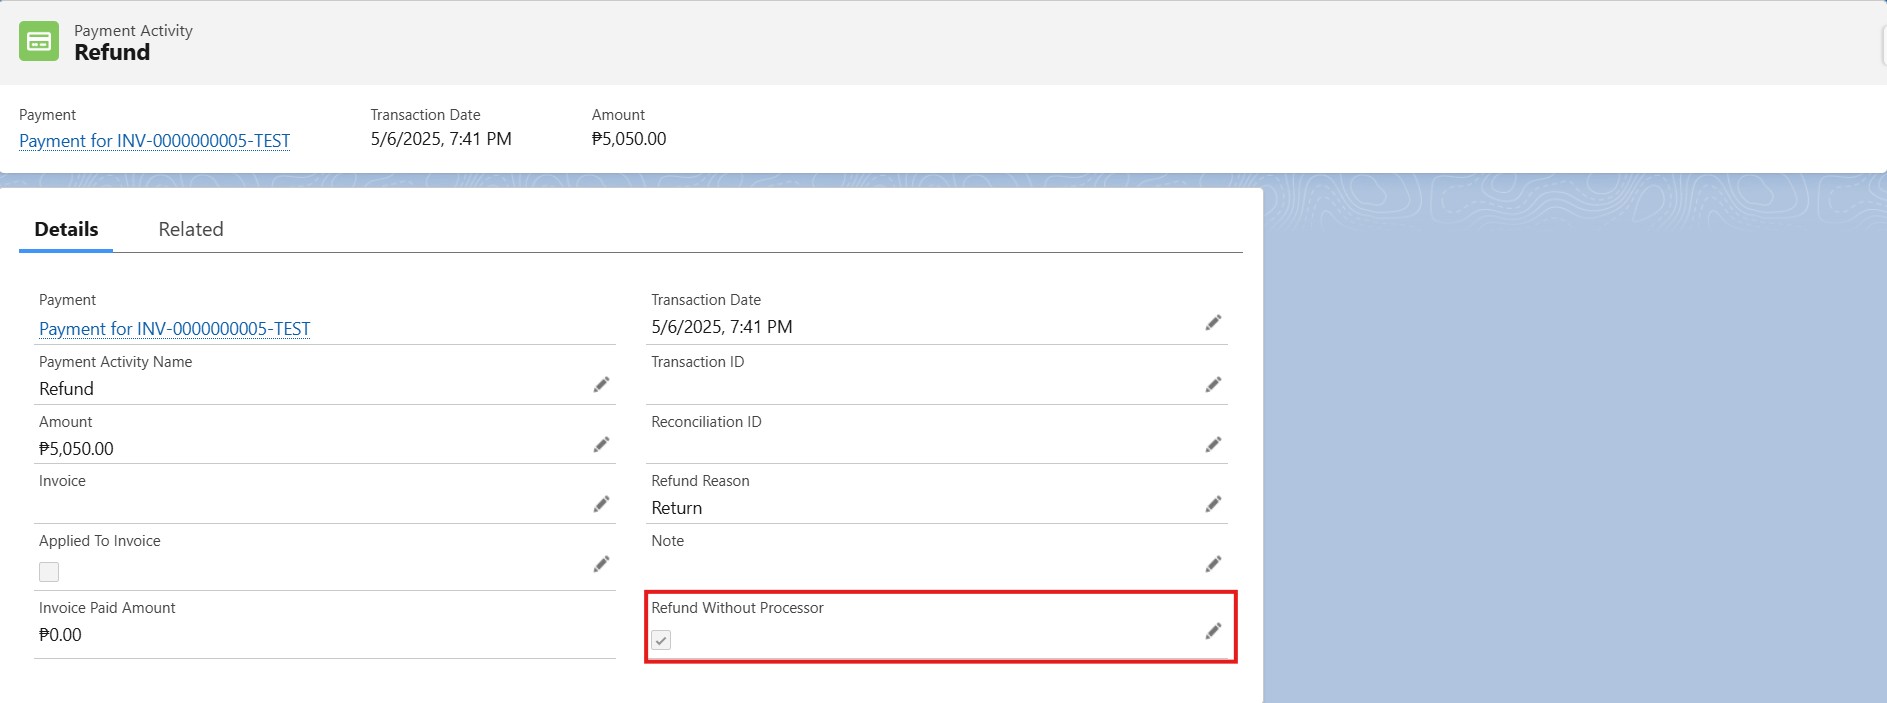
In order to track if the checkbox is being selected during the refund process, a new field named "Refund Without Processor" has been added to the Payment Activity object. If the checkbox is selected during the refund process, the corresponding Payment Activity record will have the checkbox field (Refund Without Processor) automatically marked as checked.
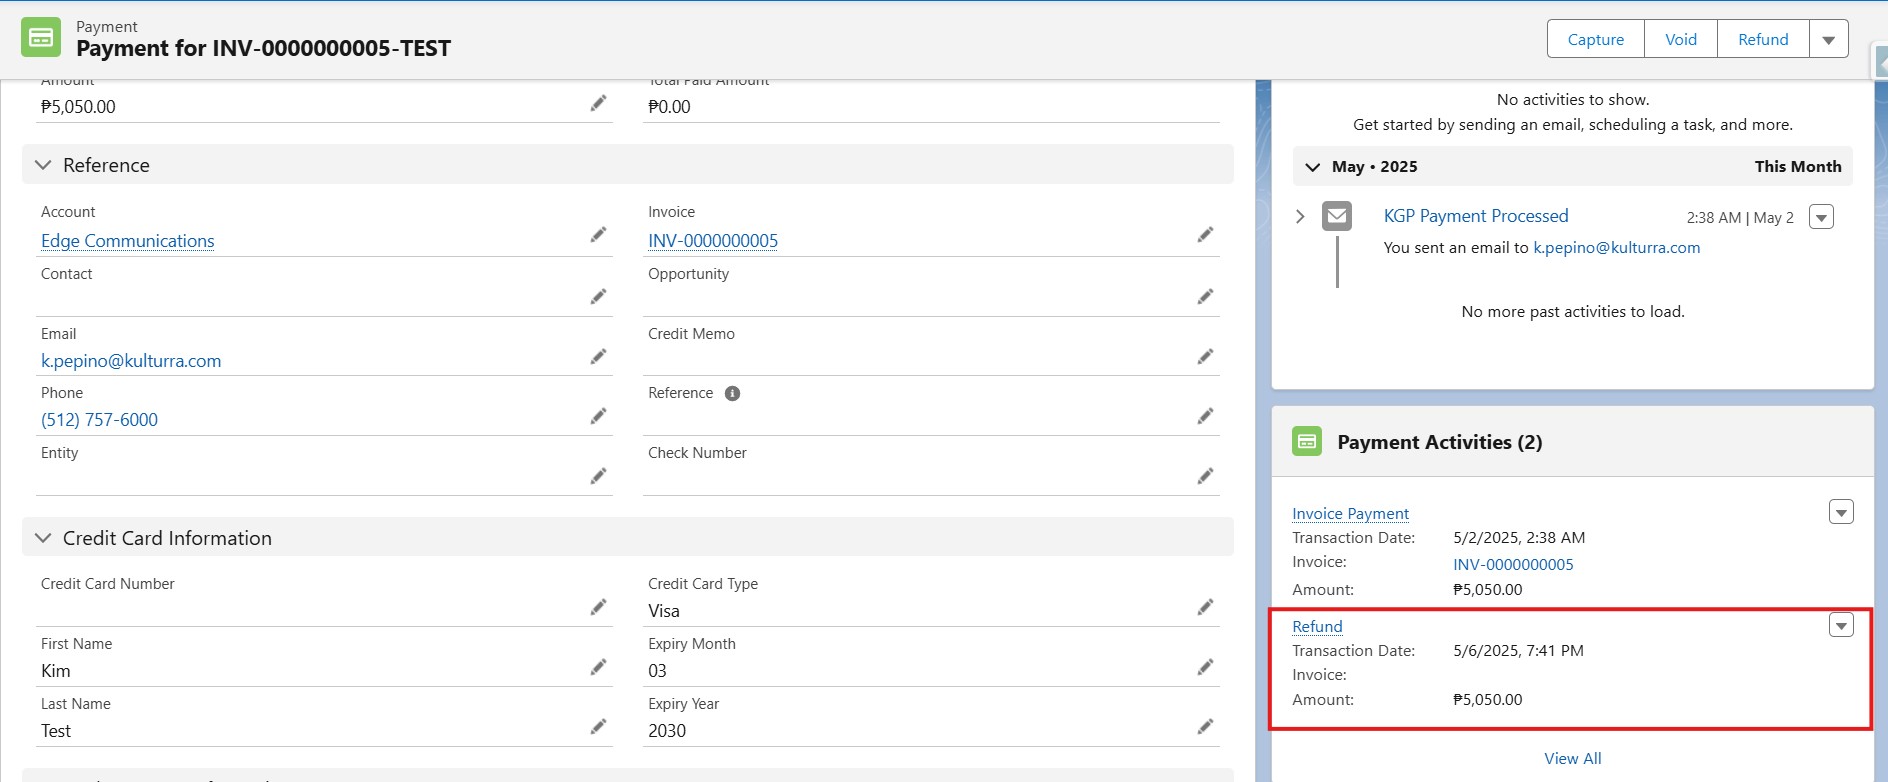
After Successful Refund:
For steps on how to process a refund, go here.
So, what's next? You can add the new field to the Payment Activity page layout so users can see it -- or, if it's just for backend tracking, feel free to keep it hidden. You'll find the steps for both options below.
Steps to Add a Custom Field to the Payment Activity Object Page Layout
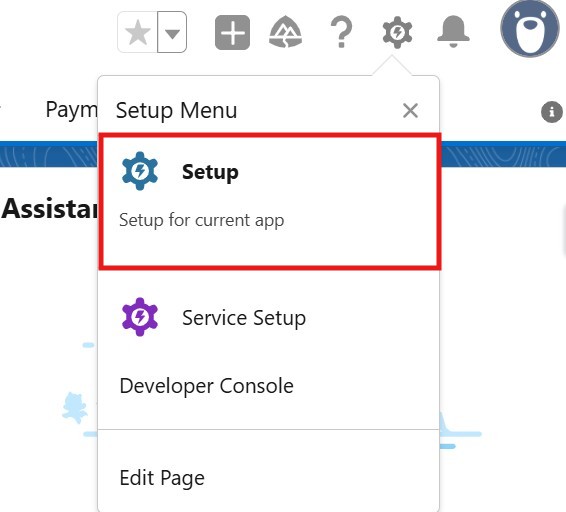
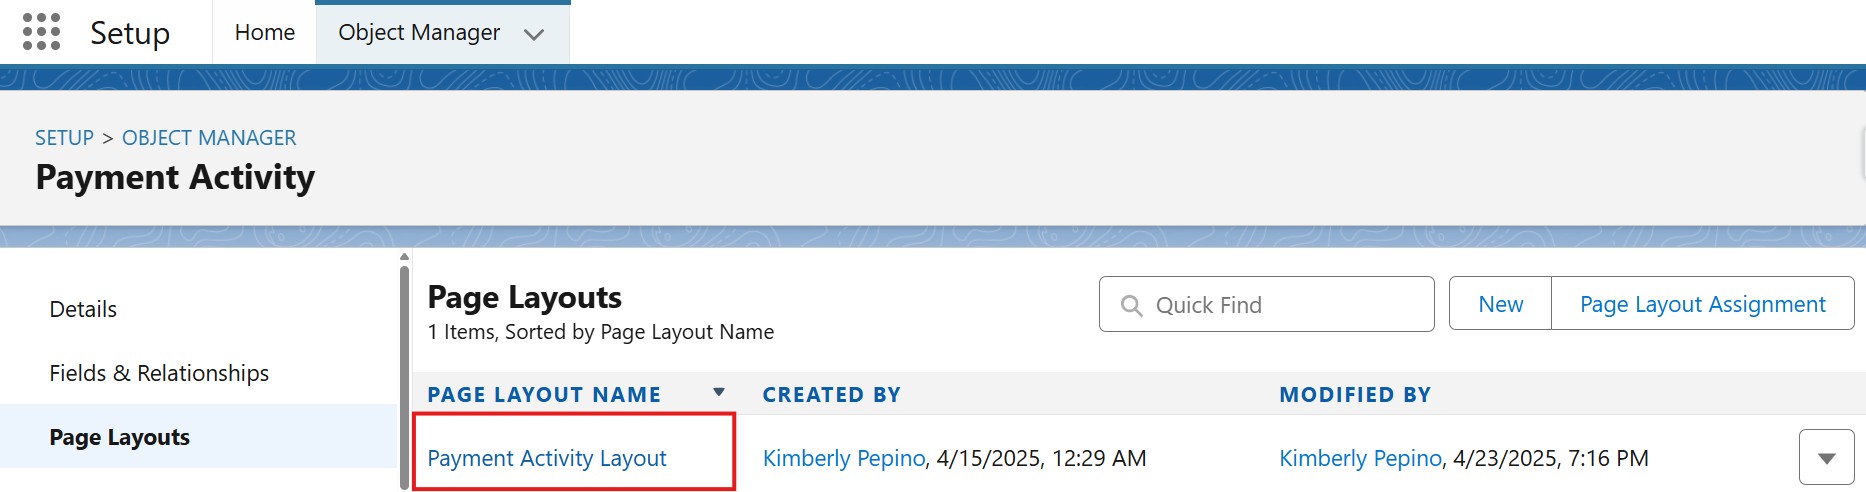
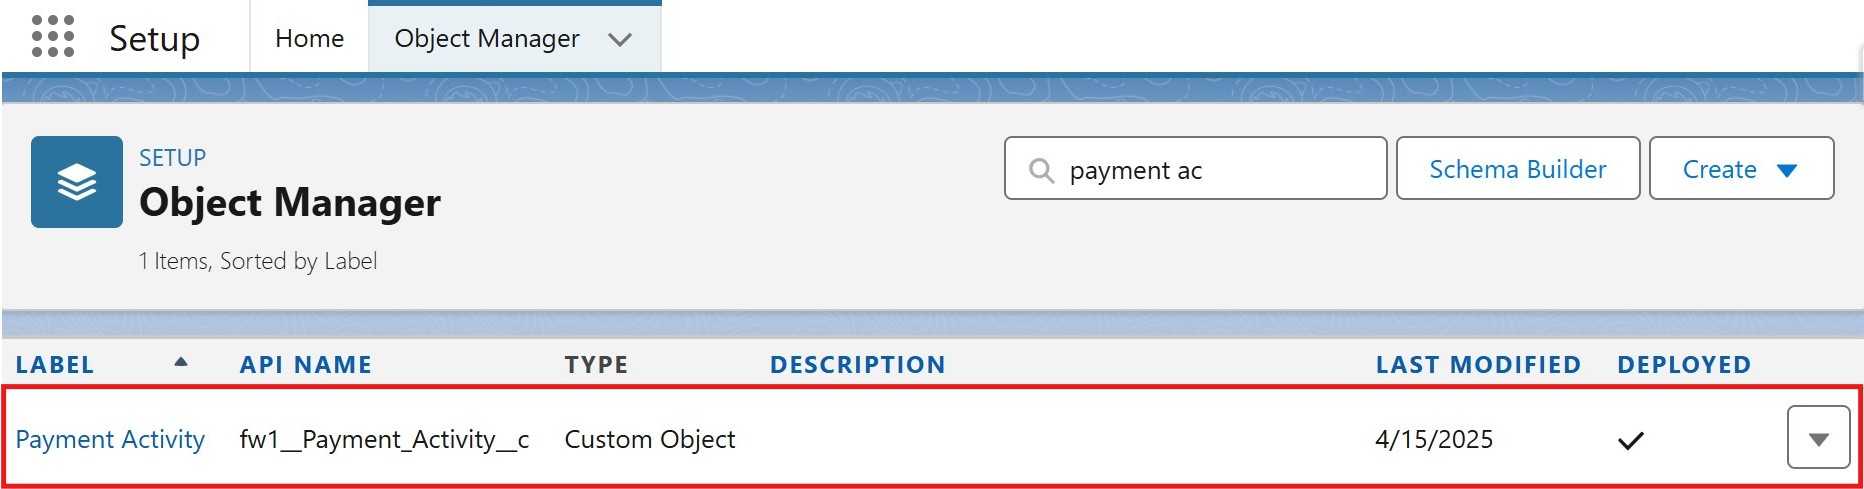
From Setup | Object Manager, go to the Payment Activity object.

On the Payment Activity object, go to Page Layouts and click on the Payment Activity Layout.
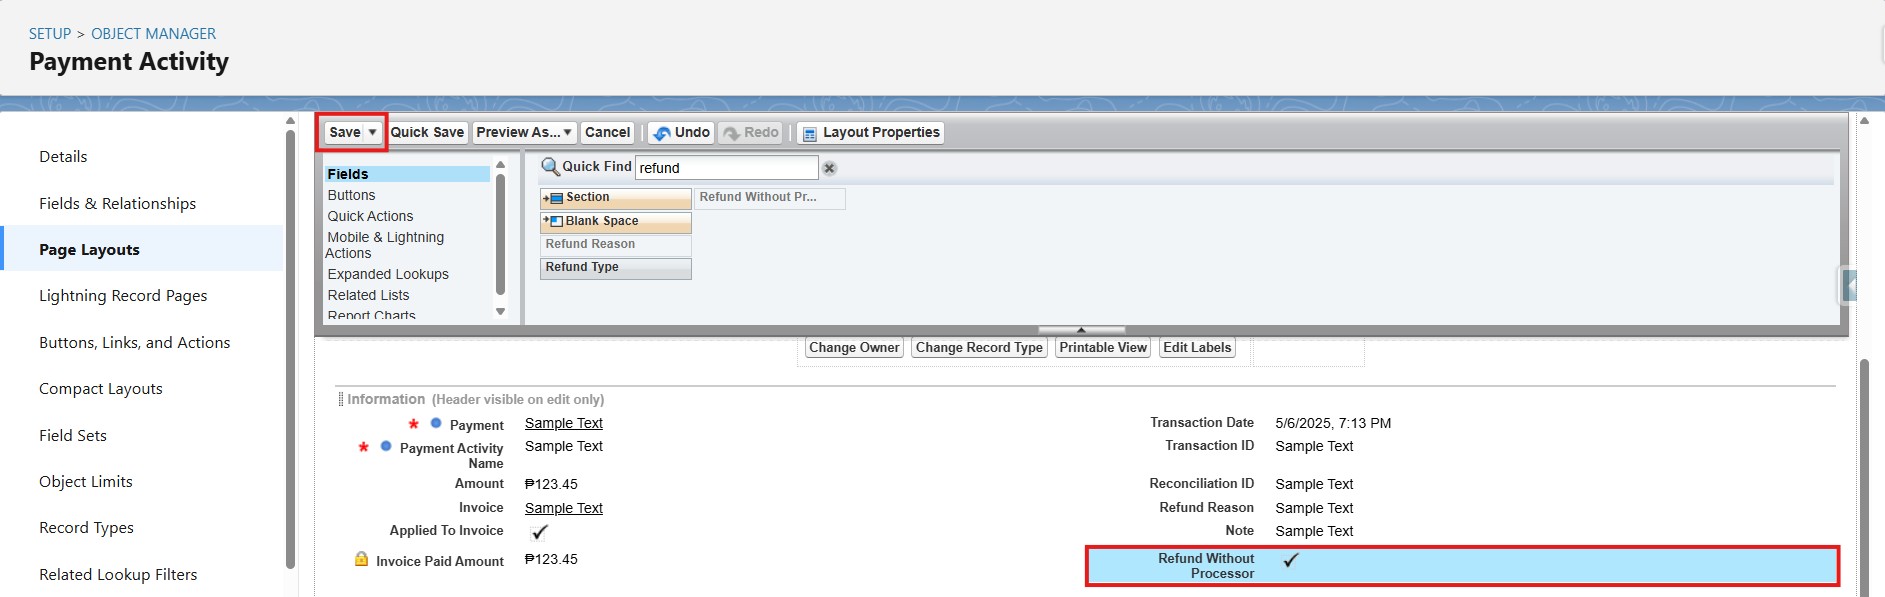
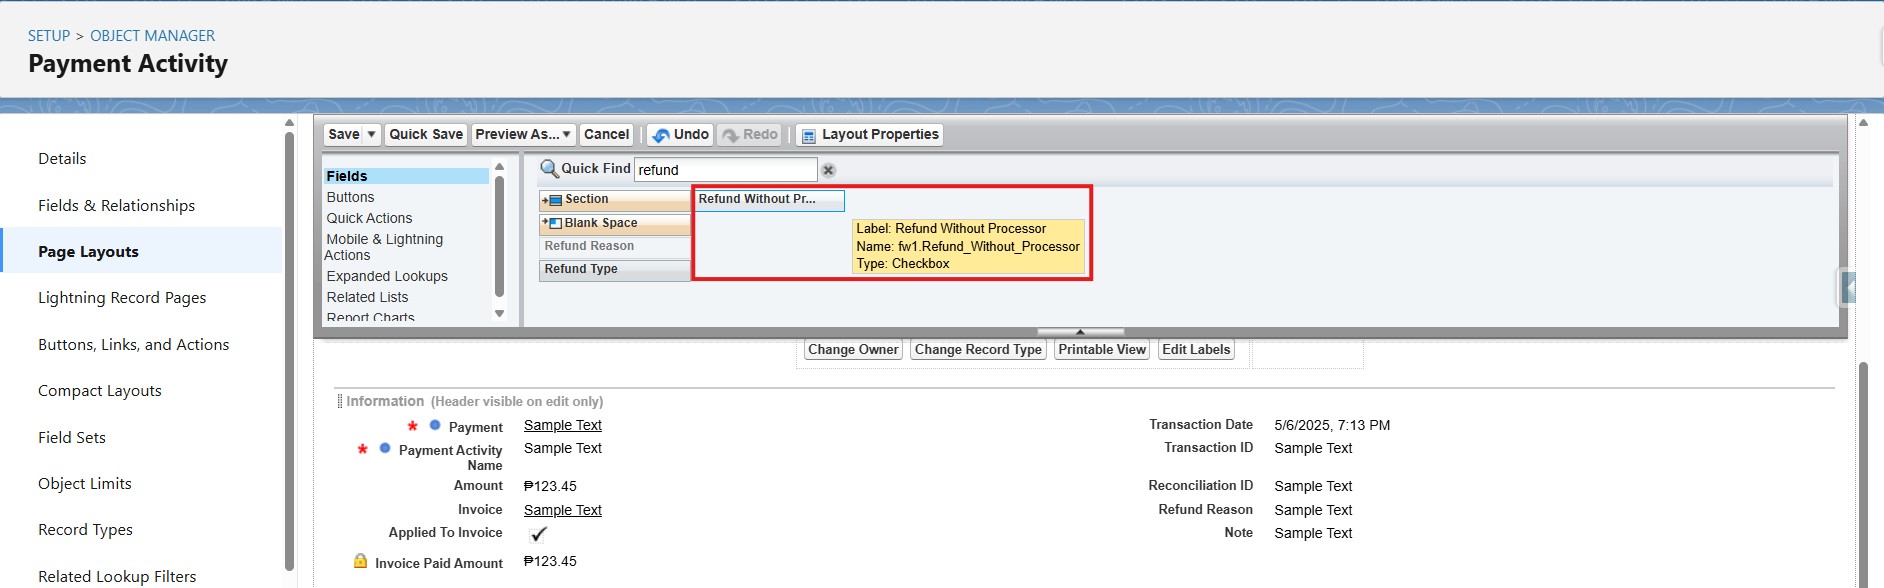
Look for the Refund Without Processor on the fields section, drag it to the page layout then click on Save.
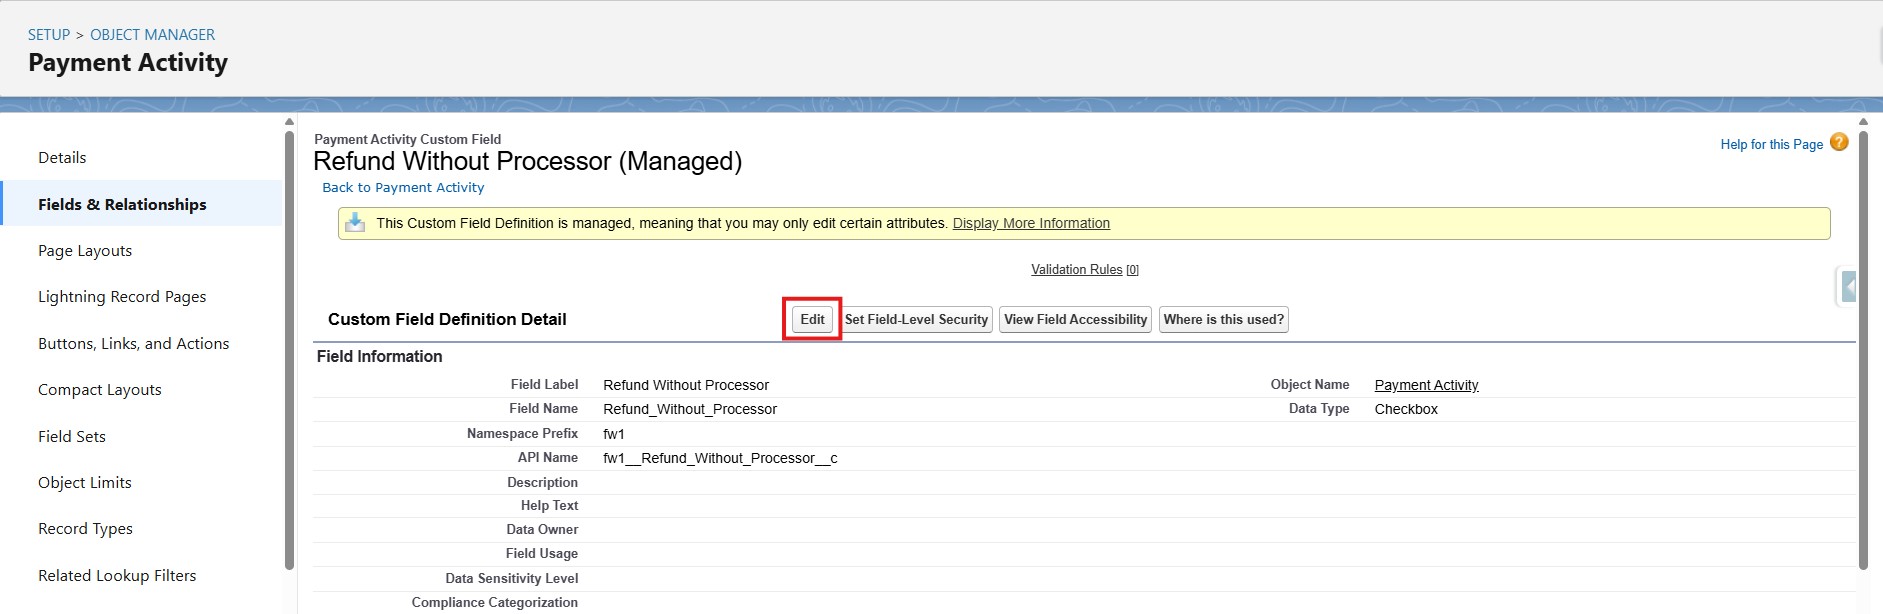
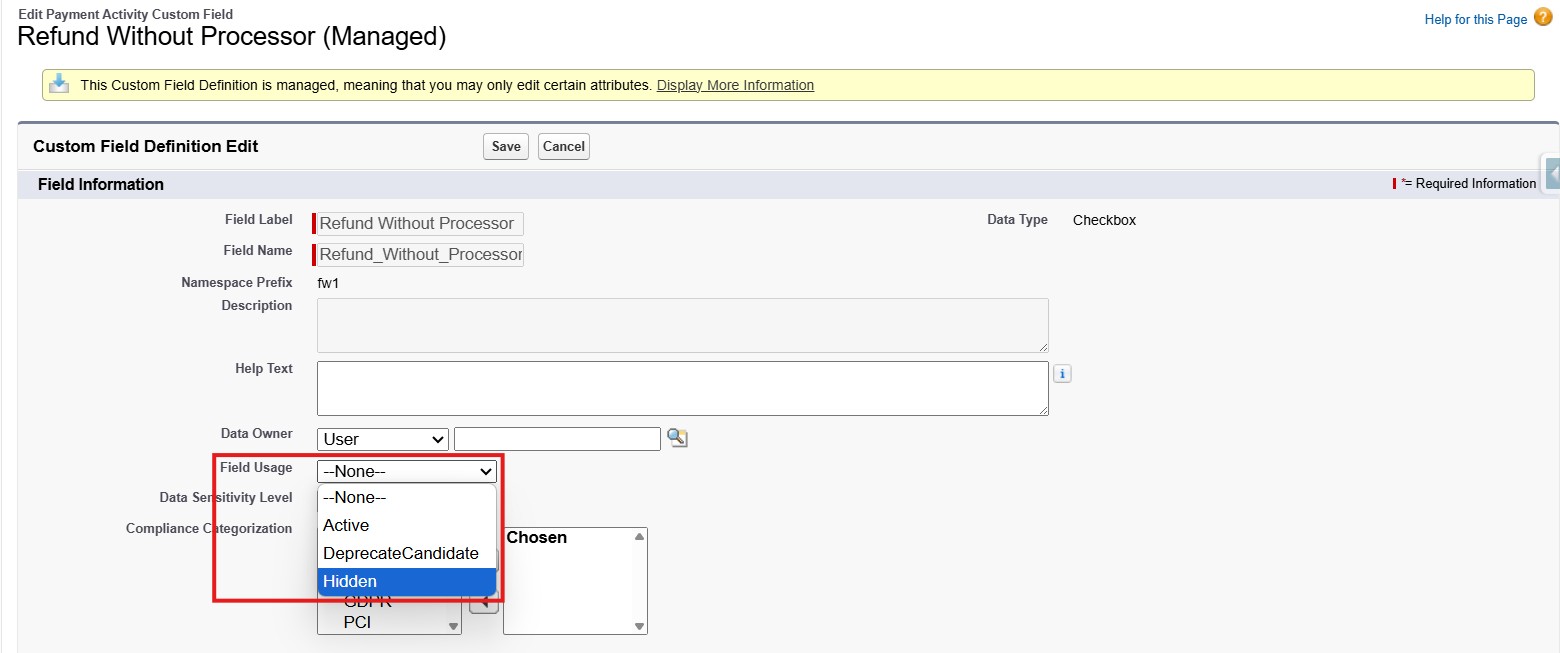
Steps to Configure Field Usage as Hidden
From Setup | Object Manager, go to the Payment Activity object.
On the Payment Activity object, go to Fields & Relationships and locate the field named Refund Without Processor.

Click Edit.
On the Field Information section, find Field Usage and select Hidden on the dropdown. Once that’s selected, click Save.
Availability: Spring '25