Overview
If your business operates in the UK and you want to offer BACS Direct Debit as a payment method through Stripe, this article will guide you through the steps. Enabling BACS expands your payment options for GBP transactions and enhances your customer experience with a trusted local payment method.
Step-by-Step Setup
1. Activate BACS in Stripe
To begin accepting BACS payments, you need to enable the option in your Stripe account:
Go to your Stripe Dashboard.
Click on Settings.
Navigate to Payment Methods.
In the Bank Debits section, turn on the BACS Direct Debit option.

⚠️ Note: BACS Direct Debit is available only for GBP transactions.
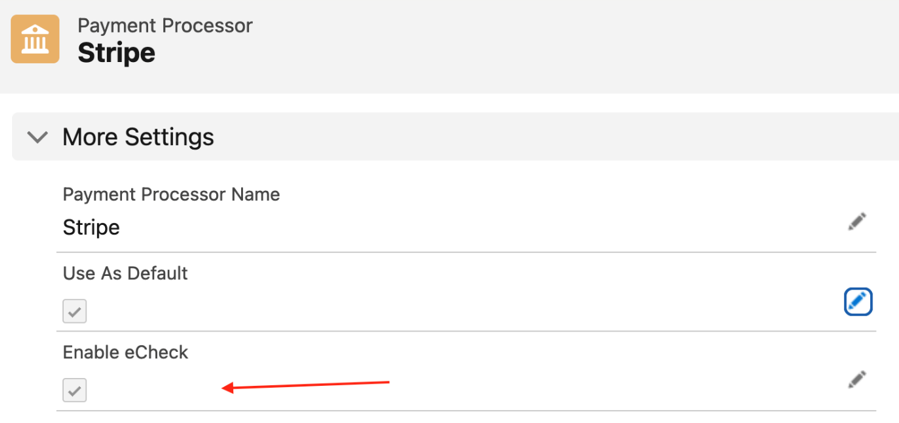
2. Enable eCheck in Salesforce
Once enabled in Stripe, configure your Salesforce settings to recognize BACS payments:
Go to Salesforce.
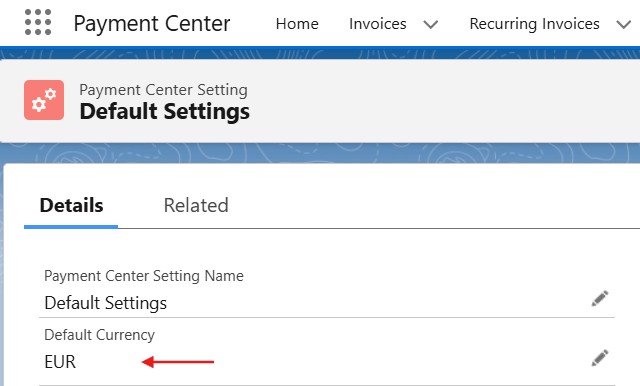
Open the Payment Center Setting tab.
Select the Stripe processor.
Check the Enable eCheck checkbox to allow BACS payment processing.
3. Currency-Specific Payment Methods
Stripe offers different Direct Debit options depending on the currency:
GBP - BACS Direct Debit

EUR - SEPA Direct Debit
USD - ACH Direct Debit
Other Currencies – Not supported
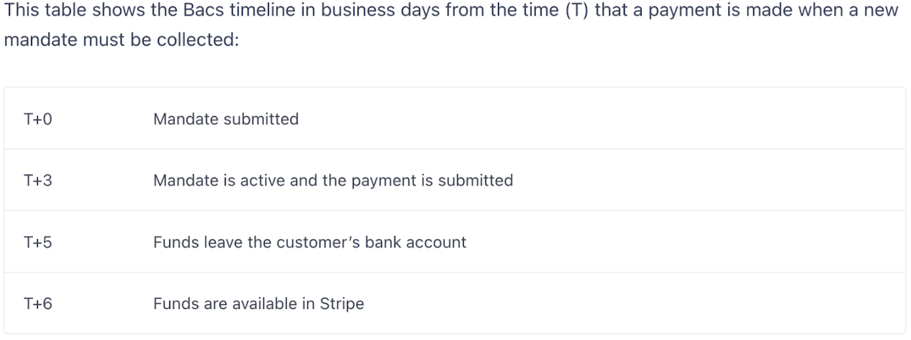
Understanding the Payment Flow
Once a BACS payment is initiated, a Payment record is created with the following details:
Status: Pending Settlement
Bank Account Type: bacs debit
Once the payment is settled, the Invoice status will automatically update to Paid.
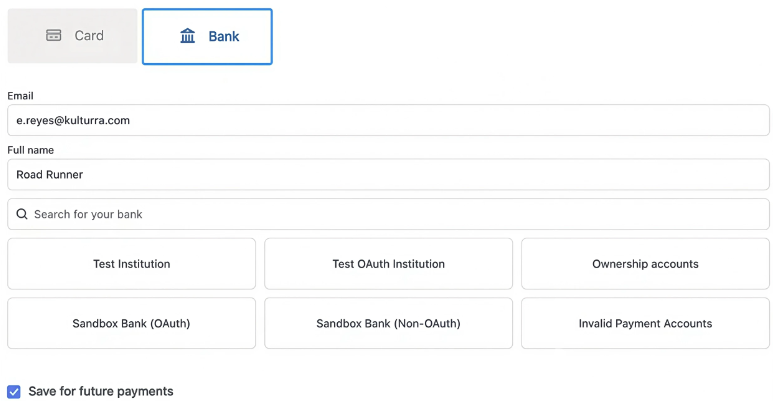
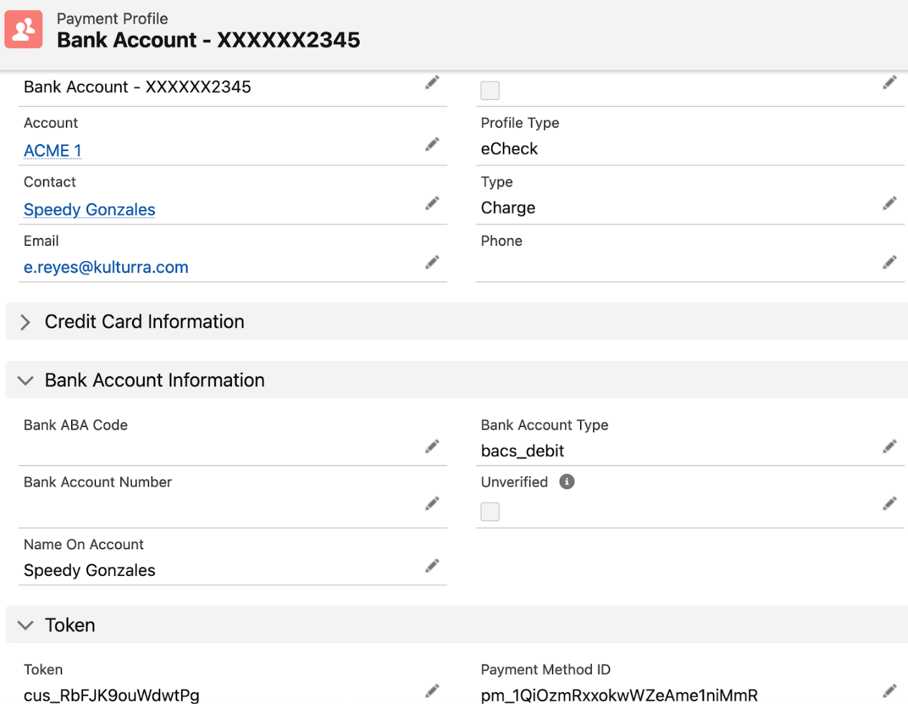
Saved Bank Details Format
When a customer saves their BACS payment information, the system will display:
Name – Bank Account:
XXXXXX9999Profile Type – eCheck
Bank Account Type – bacs debit
Payment Method ID – starts with
pm_
Where BACS Payments Apply
This payment method can be used in the following areas:
Online Page
Payment Terminal
Create Payment Profile
Create Payment Profile Terminal
UI and Settings Behavior (Stripe Integration)
Address Element and Publishable Key
After the update:
The Address element is available only with a modern publishable key
If using an old publishable key (
pk_0Gw...) and:Require Billing Address = true, or
Require Billing Address For eCheck = true,
→ an error will be displayed on the payment or terminal screen.

To resolve this, customers must update their publishable key.
Recurring Invoice Behavior
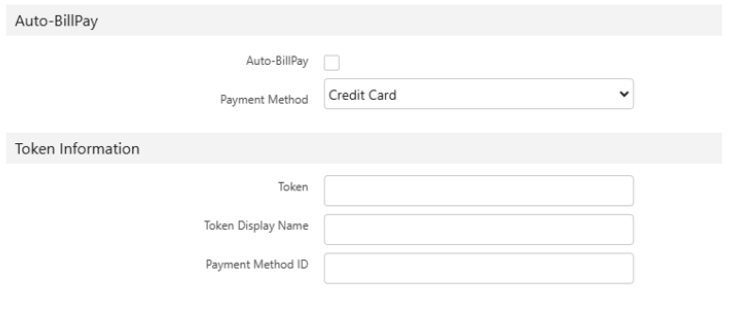
When Use Payment Profile On Recurring = false, the Create Recurring Invoice screen will adjust based on the payment method:
Credit Card – Form displays applicable fields based on billing address settings
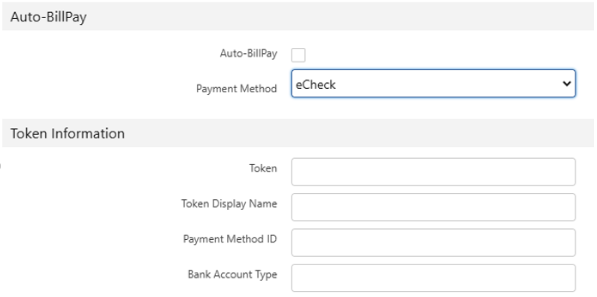
eCheck – Will follow the same currency-based rules outlined above
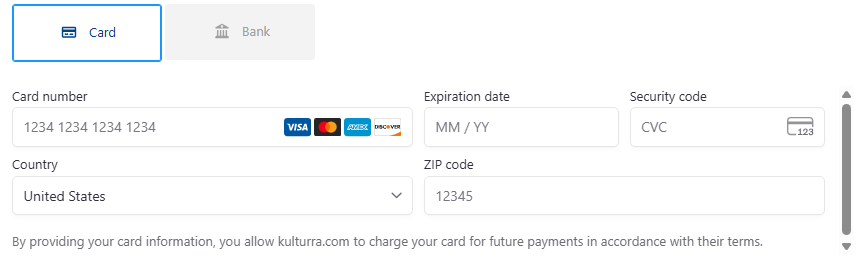
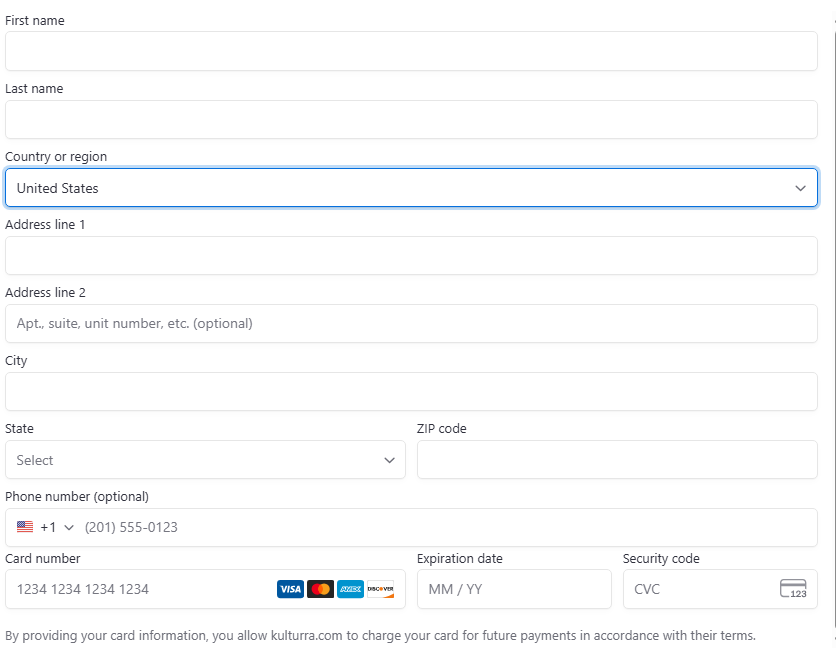
Credit Card Form Behavior
If Require Billing Address = false, only the following fields are shown:
Card Number
Expiration Date
Security Code
Country
ZIP Code
If Require Billing Address = true:
Name and Address fields will be visible.
Phone Number will also be shown only if billing address is enabled.
CVV is always required
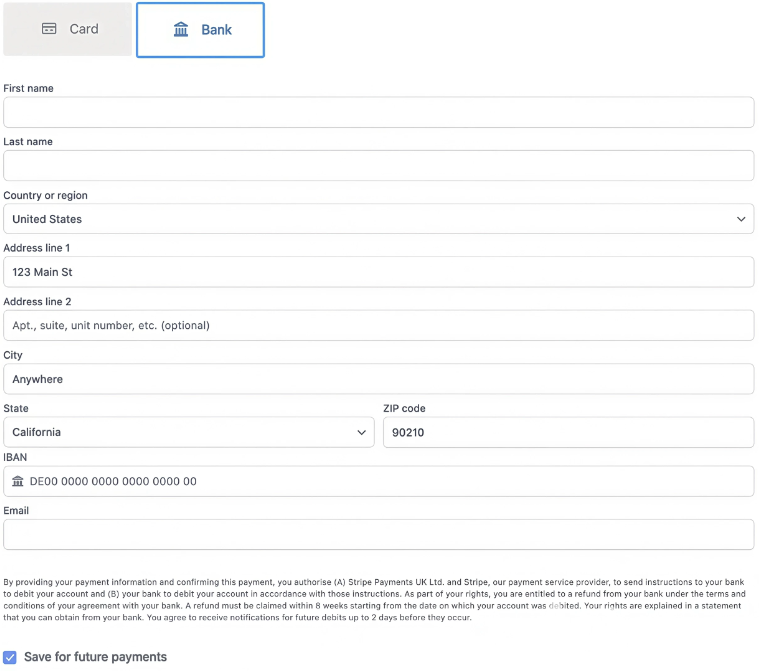
eCheck Form Behavior
The eCheck screen adjusts based on currency set in Payment Center Settings:
GBP → BACS
EUR → SEPA (SEPA Direct Debit flag field is no longer used)
USD → ACH Direct Debit
Others → ❌ Error displayed

BACS (GBP) and SEPA (EUR):
Billing address is always required
The Require Billing Address for eCheck flag only applies to Direct Debit (USD)
Phone Number is shown only for Direct Debit (USD) if billing address is enabled
Availability: Spring '25