Implementing Payment Center in Salesforce Communities comes with a great deal of benefits. It lets your community users help themselves by viewing and paying their own invoices, managing their payment profiles, viewing installments and many others.
If you are new to Salesforce Community and you want to utilize this feature in Salesforce, here's a quick guide on how to set it up:
Enable Salesforce Digital Experience for Customer Community User
Enable Salesforce Digital Experiences, configure a domain name, and then enable standard external profiles.
From Setup, in the Quick Find box, enter Digital Experiences.
Click Settings.
Select the Enable Digital Experiences check box.
Enter the domain name. Click Check Availability.
Click Save. Click OK.
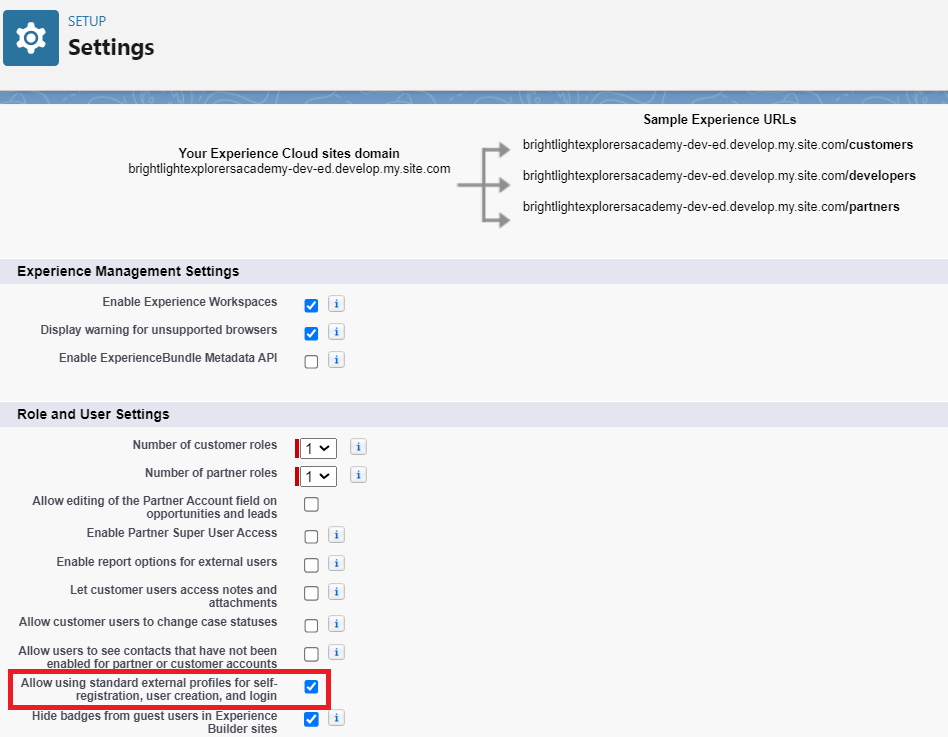
From the Settings, scroll to Role and User Setting and select Allow using standard external profiles for self-registration, user creation, and login checkbox.
Click OK. Click Save.
Create an Account for Customer Community User
Create an account and associate it with a contact.
In the App Launcher, search for and open Accounts.
Click New to add required details and then save the account.

Create a Customer Community User
Create a contact and enable it as customer community user.
In the App Launcher, search for and open Contacts.
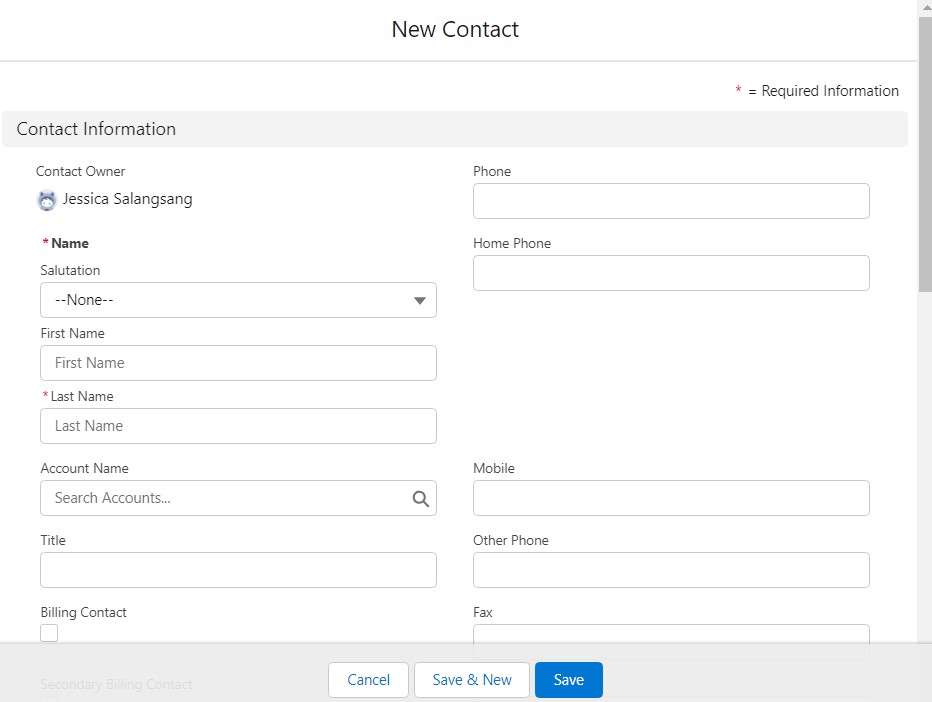
Click New.
In the Account Name field, you must select the account you created for your customer community in an earlier step.
Save the contact.
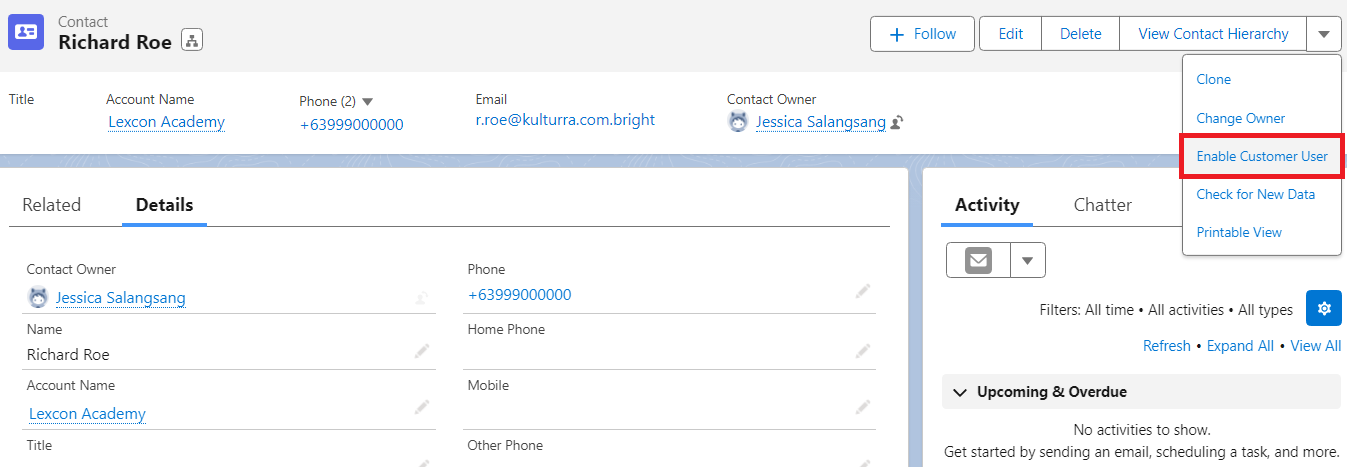
5. Open the new contact you created, and click the dropdown menu to select Enable Customer User.
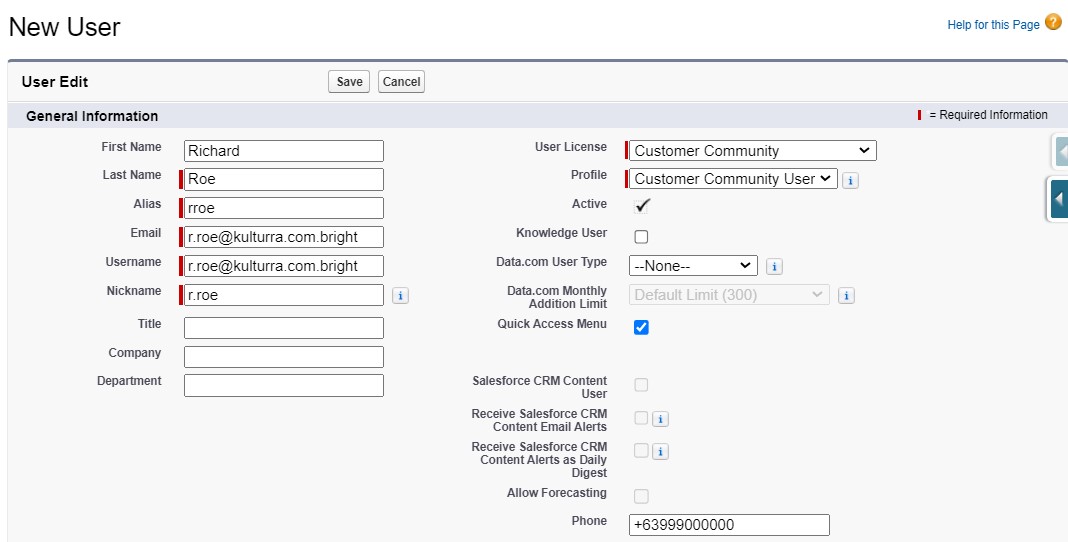
6. In the New User page, select the following:
User License: Customer Community
Profile: Customer Community User

If you’ve cloned an existing customer community profile, then in the profile field, select the cloned profile name.
7. Define other required fields, such as email and nickname.
8. Click Save. Click OK.

If you receive an error "Portal Account Owner has No Role," assign a profile to the owner of the customer community account. Then repeat this procedure.
Create a Digital Experience Site for Customer Community User
Configure a name and a URL for the digital experience site.
From Setup, in the Quick Find box, enter Digital Experiences.
Click All Sites I New.
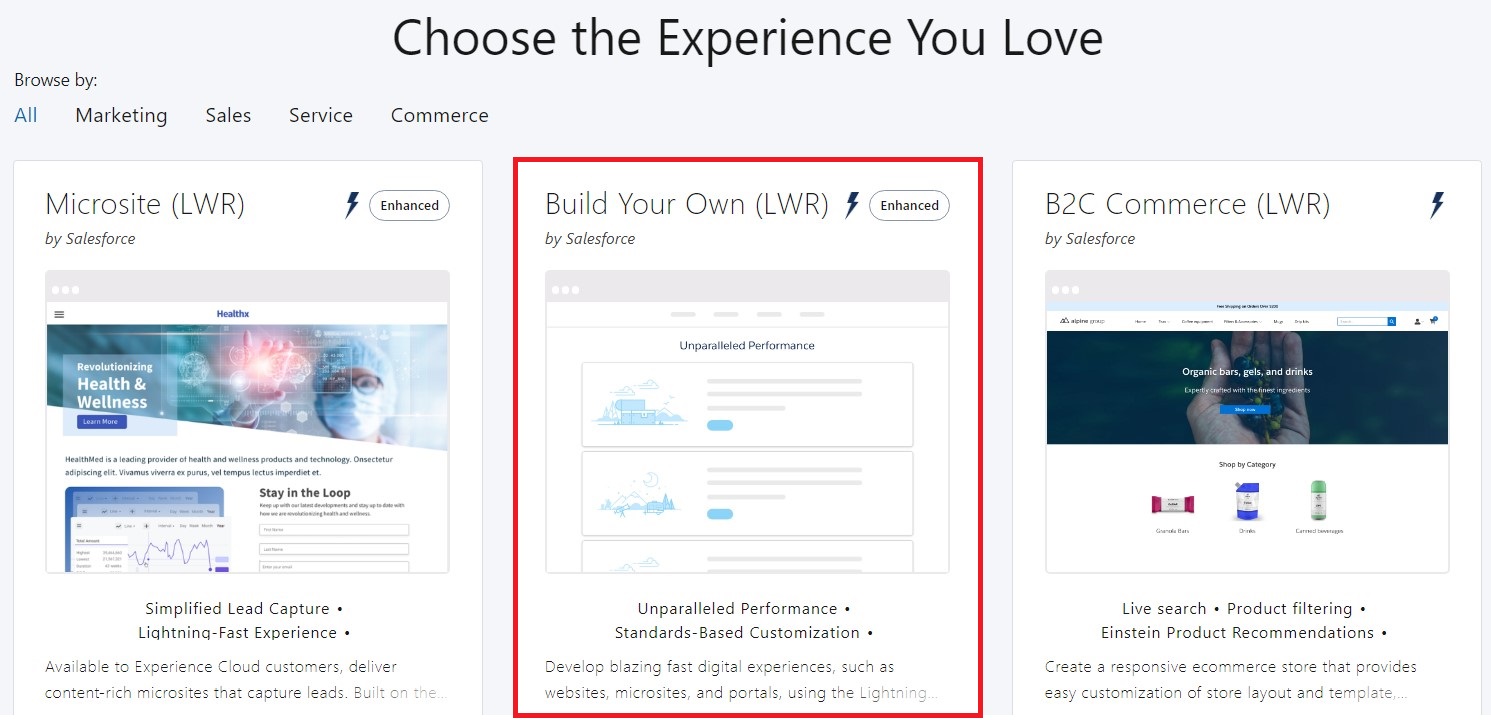
Select a Lightning template (next to the lightning icon) or click Build Your Own I Get Started.
In the Name field, enter a name for the digital experience site.
In the optional part of the URL field, enter the same name you entered in step 4.
Although marked as optional, this field is mandatory. Salesforce Industries document generation requires that you set up your customer community URL.

Click Create.

Configure Digital Experience Site for Customer Community User
Activate the customer community digital experience site and associate the site to a customer community profile and assign relevant permission sets.
From Setup, in the Quick Find box, enter Digital Experiences.
Click All Sites.
Find the customer community that you created, and then click Workspaces I Administration.
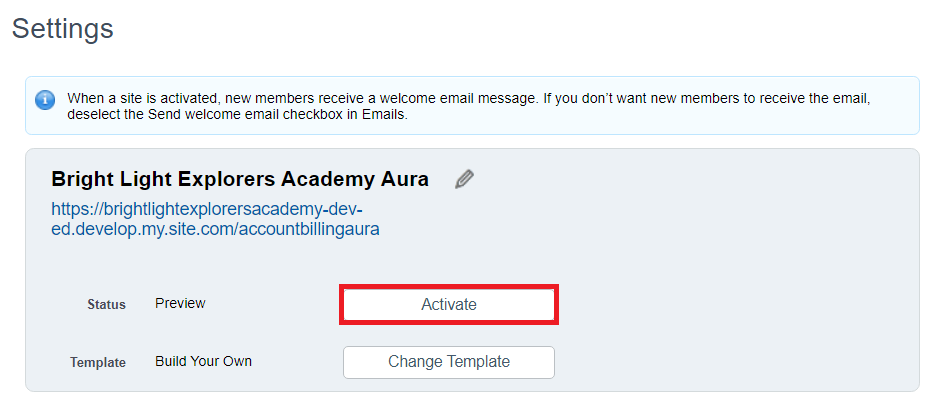
In Settings, click Activate. Click OK.
5. In Preferences, select the Show All Settings in Workspaces check box, and click Save.
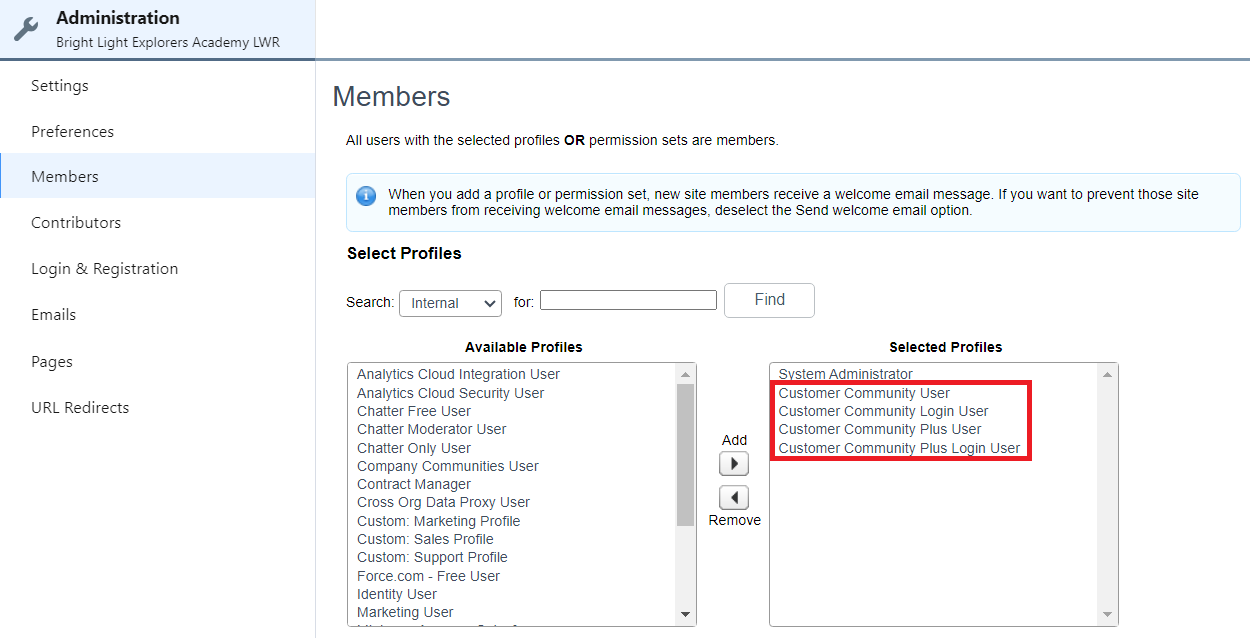
6. In Members, select your own custom profile or a permission set, and click Save.

If you’ve cloned an existing customer community profile, then choose the cloned profile name.
Account Billing
Account Billing component is the Payment Center's solution to allow Community Users' access to Payment Center features. To know more about this new feature, you may refer to this article: Account Billing